Your Cart is Empty
Free shipping on orders over $35 - continental US

It's impossible to ignore the fact that all our childhood favorites are back on trend. Everything from Pokémon and the Teenage Mutant Ninja Turtles to My Little Pony and Rainbow Brite.
Let's face it, the 1980s and 90s were so great, we can't ever really say goodbye. Right?
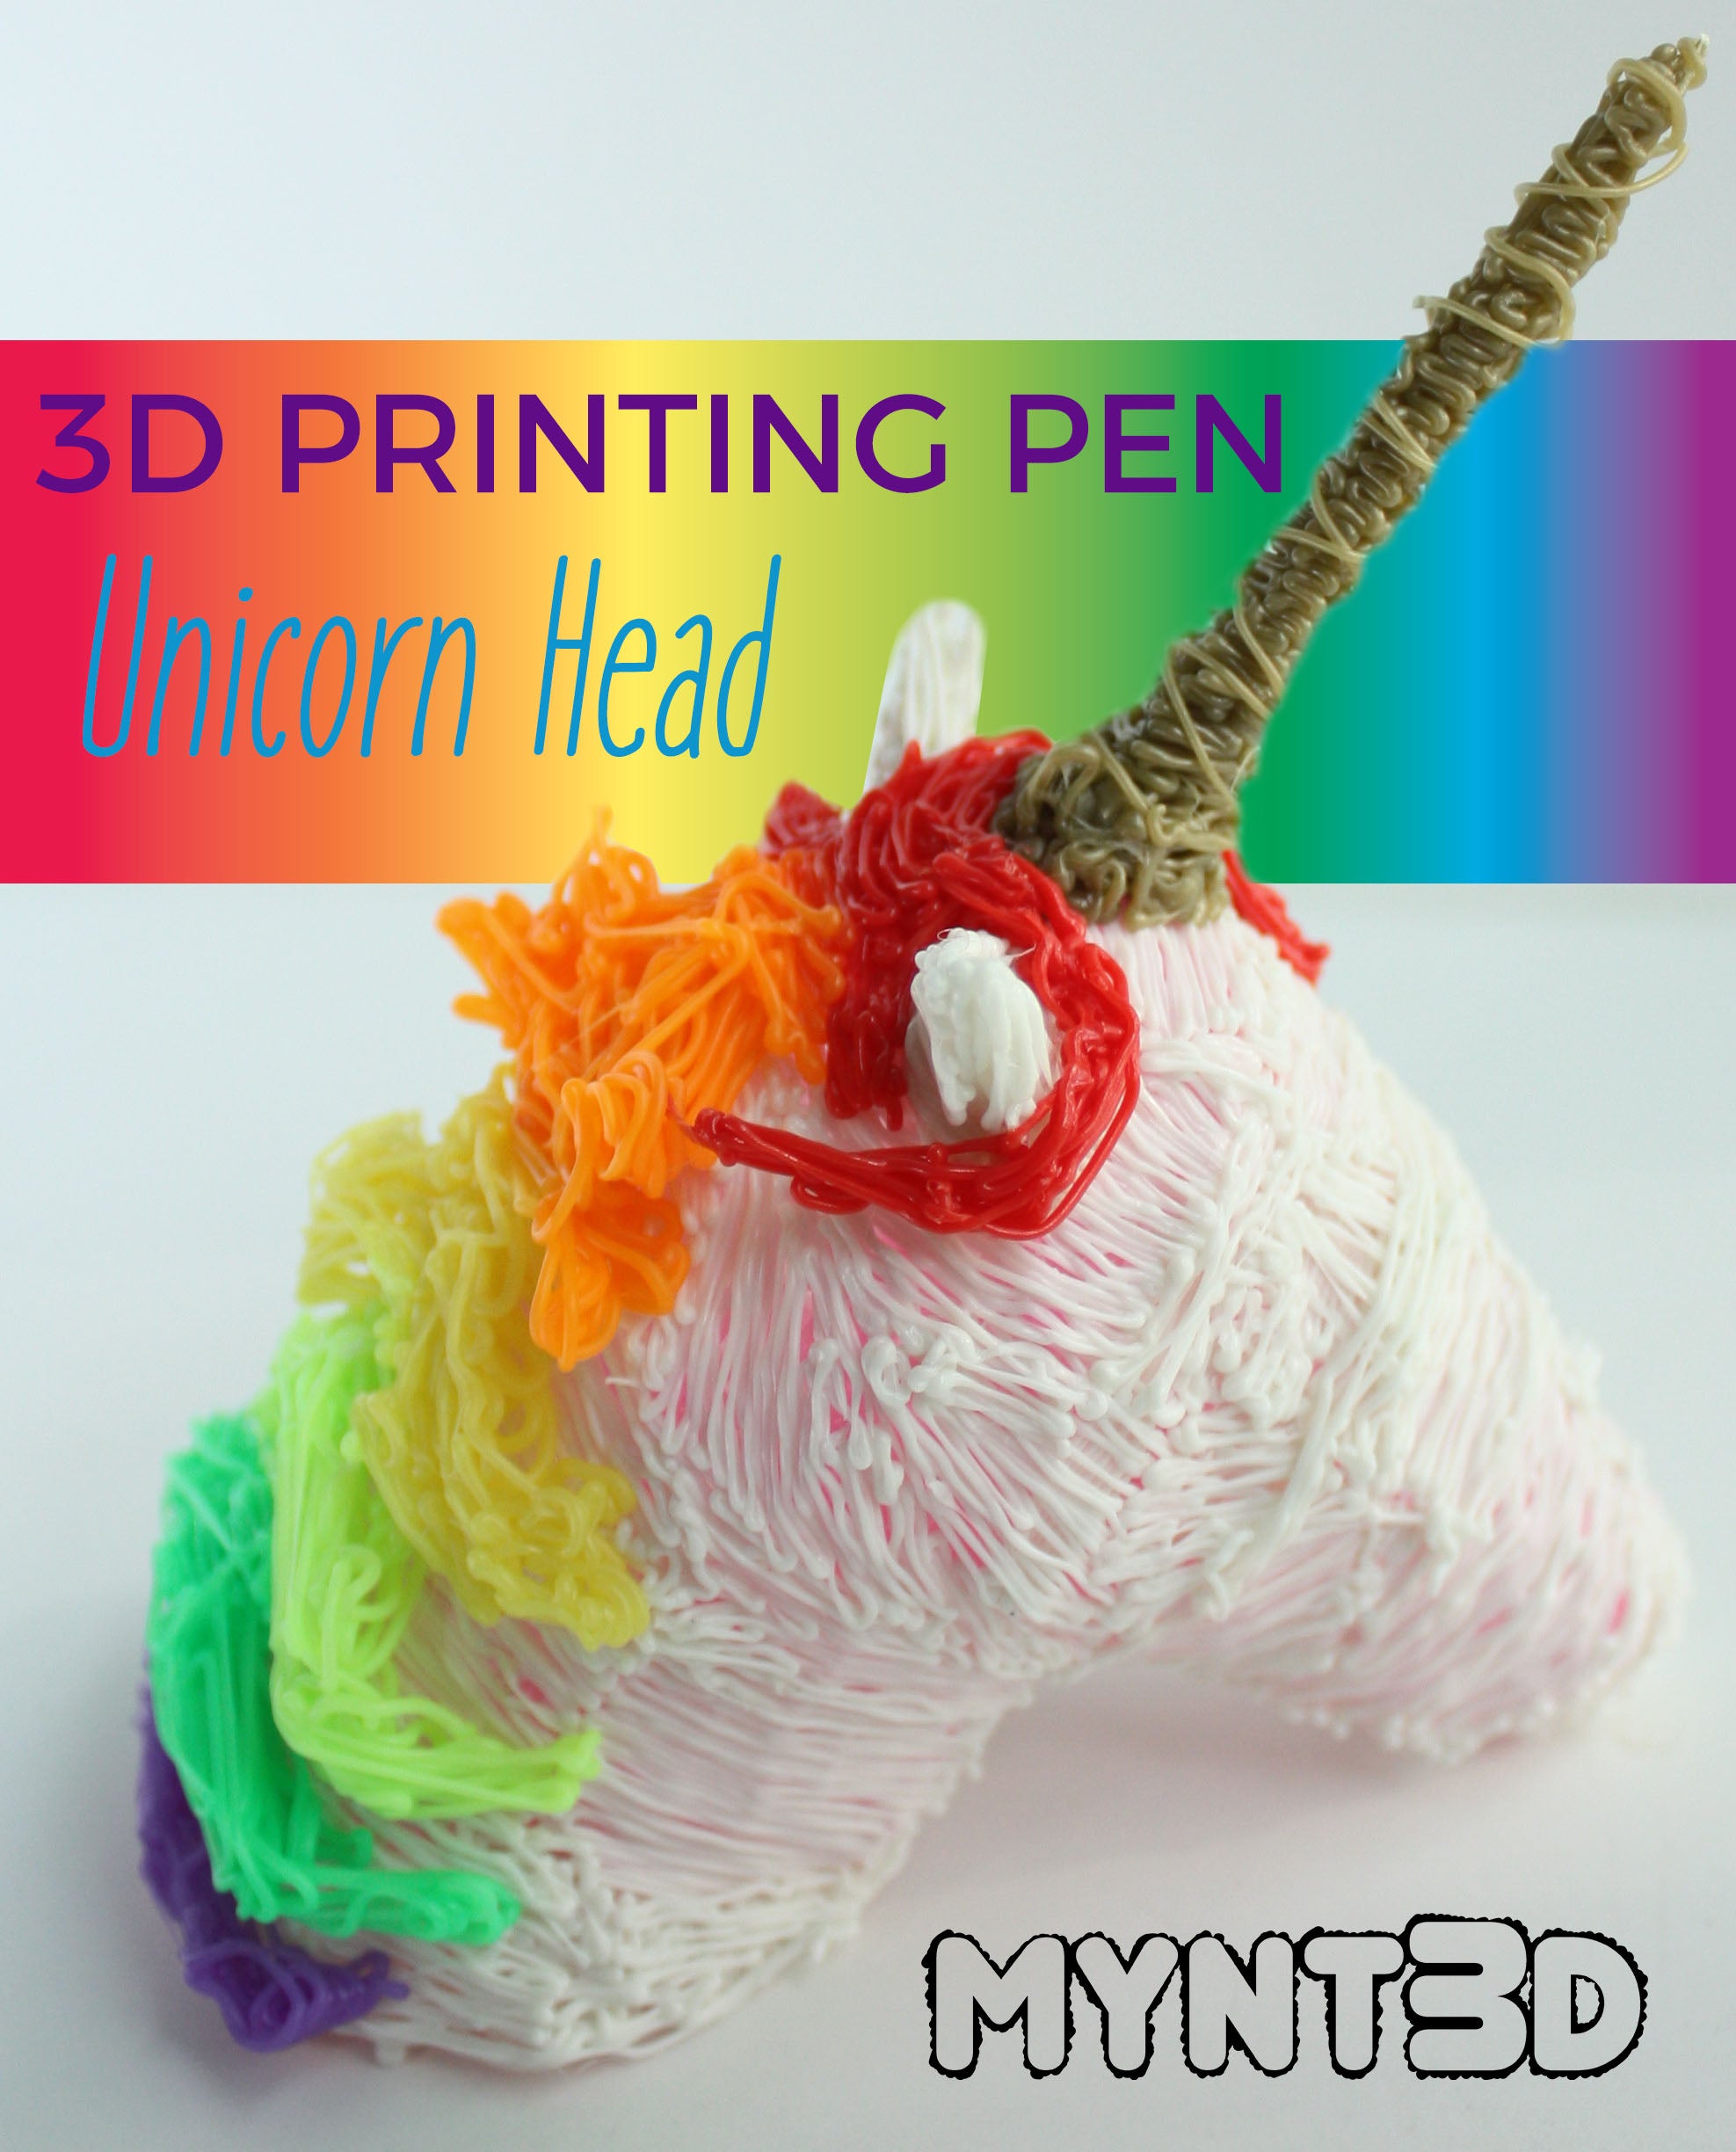
So we're going to crank up some Duran Duran or Dire Straits (totally optional), and plug in our MYNT3D printing pens to make this rad unicorn!

Supplies
MYNT3D professional printing pen
ABS 1.75mm filament in all colors of the rainbow plus gold and white (or pink)
Plastic toy food, or bottles from the recycling bin
Scissors

1. Start heating your 3D pen. When it reaches the proper temperature, load ABS filament, which adheres to the plastic forms better than PLA. Note: once you've created the basic 3D structure you can use PLA to complete your project.
2. Find a plastic form that looks close in shape to a horse or unicorn head. We used a little toy pineapple.
3. Wrap filament around the wide end, then draw to the narrow end. Continue back and forth, making a grid-like structure.
4. Find a form that's larger than the wide end of the face. Use this to make a dome structure that will be the top and back of the head.
5. Find a simple cylindrical form to make a form for the neck.
6. Position the forms together and connect. Smooth out the contours with the 3D pen.

7. To make the horn, load gold filament into your pen. Make a single strand coming off the forehead. The strand needs to be about an inch longer than the final length of the horn. Hold the strand steady until it fully hardens in place.
8. With your free hand, hold the tip of the anchor strand and draw filament from just below your fingers to the head, in a 1/8" radius around the anchor point.
TIP: By holding a longer anchor point, you will keep the horn straight and avoid melting and bending when adding subsequent filament strands.
9. Once you've drawn a few more reinforcement strands on the horn, you can stop holding on and continue with freehand drawing, filling in the narrow cone structure.
10. For the horn twist aesthetic, wind filament in a spiral motion going from base to tip.
11. Use scissors to snip the end of the horn where you were originally holding (the extra 1" from Step 7)

12. Arrange your colored filament red, orange, yellow, green, blue, purple - or whatever you prefer and have available, so you are ready to change out as you 3D draw the mane.
13. Start with red filament and draw swoops of "hair" around one ear and on the other side of the horn. Red should sweep around to the face area.
TIP: To get the mane to curl out away from the horse head, you can use the same "anchor and hold" method that was used for the horn.
14. Remove the red filament and load orange. Notice the ombre gradation effect as the red filament left in the nozzle gradually turns to orange. This gives a subtle color blending effect that looks spectacular on the rainbow mane. Repeat with remaining colors.
Comments will be approved before showing up.
