Your Cart is Empty
Free shipping on orders over $35 - continental US

Even though Mother's Day is the most popular day of the year for going to brunch, did you know that 9 out of 10 consumers surveyed by Technomic MarketBriefing said that they go out to brunch "at least occasionally"?
Well, further proving our love of bacon and eggs - also referred to as BAE by the die-hard enthusiasts, there is an International Bacon Day on September 3rd.
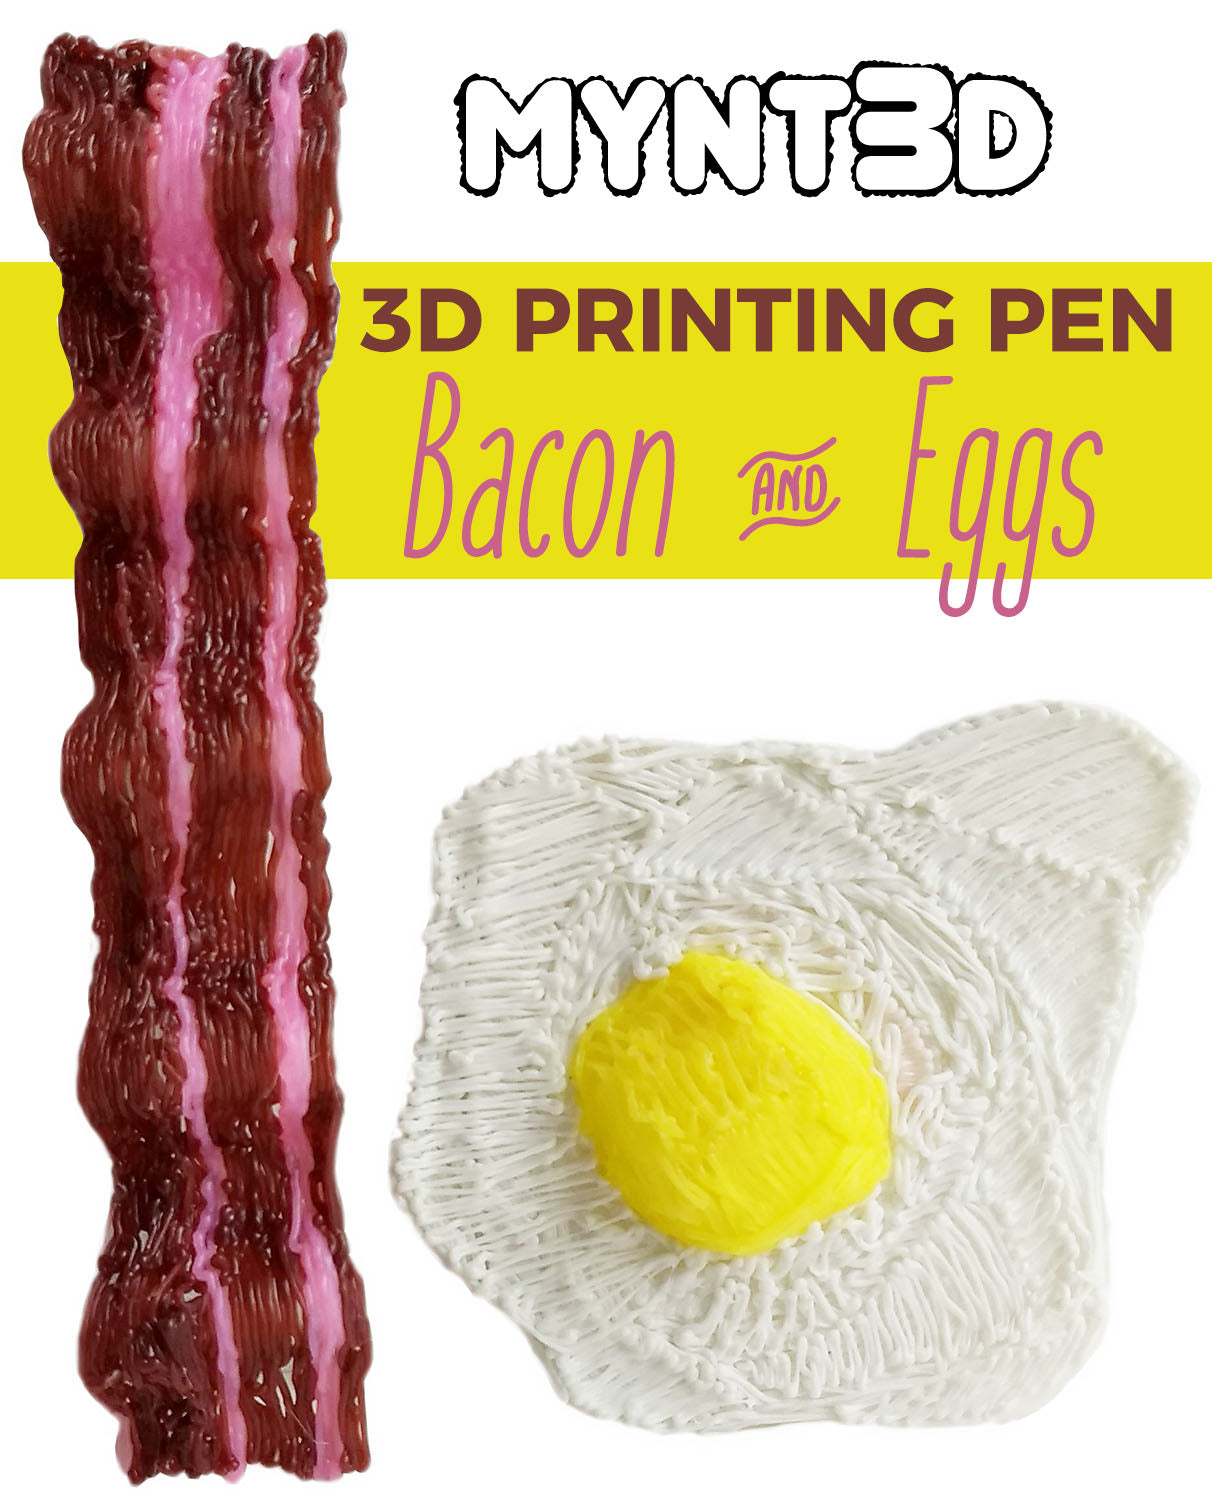
So, while you're marking your calendar, you might want to heat up your 3D printing pen and sizzle some 3D bacon and egg creations of your own. Here's how!
Just like learning to cook, fried eggs are a perfect starter project for getting comfortable with your 3D printing pen.

1. Start by downloading the Fried Eggs Project Template. Use your printer settings to scale the template if desired.
2. Start heating your 3D pen. When it reaches the proper temperature, load yellow filament.
3. To make the yolk, start with a small dome of play dough covered in clear tape. Trace over the top and sides of the form with yellow filament. Remove from the form.
4. Position the yolk on the stencil template.
5. Load white filament in your 3D printing pen. Trace over the outline of the egg-white part of the template. Then fill in the area, stroking back and forth in a zig zag motion.
Before thinking up the drawing technique used for the wavy bacon, we first attempted to use contoured paper. Paper is an effective surface for the 3D pen, but in this case we found it to be less than optimal. So after a little experimenting we determined that pencils would do the trick, and provide the perfect form for drawing 3-dimensional bacon.

Supplies
MYNT3D professional printing pen
Brown and pink 1.75mm filament
5-7 pencils
Clear tape
Scissors for cutting filament ends

1. Start by heating up your MYNT3D printing pen. When it reaches the proper temperature, load the brown filament.
2. Space pencils about a half inch apart on your 3D pen work surface. (We recommend a piece of poly carbonate.) Tape them in place.
3. Slowly start to run the filament over the pencils and dips in between. TIP - don't worry if it looks squiggly and uneven. As you trace back and forth over the pencils, the filament will adhere to previous strokes and the bacon will take shape
4. Repeat until you get a about a half inch wide piece, then switch to the pink filament.

5. Add stripes of pink into the design to look like the bacon fat. You'll want to have these stripes vary in width to look more realistic.
6. When you've reached your desired bacon width, remove from the form and snip off any loose or stringy pieces of filament.
Brunch is served!
Comments will be approved before showing up.

Arnt Maes
December 16, 2019
thats good for a prank but it is realy good