Your Cart is Empty
Free shipping on orders over $35 - continental US

According to the American Society for Surgery of the Hand (ASSH), Halloween is one of the top three holidays for causing emergency room visits. The majority of the injuries coming from:

Supplies
MYNT3D professional printing pen
1.75mm filament in a festive color. For this project, we recommend ABS for its strength.
Card Stock
To add decorative embellishements, download the Halloween Crafts FREE Template. Use your printer settings to scale the template if desired.

1. Start by rolling the cardstock around your mini flashlight to make a form template.
2. Heat your 3D pen. When it reaches the proper temperature, load ABS filament.
3. Then begin winding the filament around the paper tube, gradually working your way up.
4. Draw over your base filament to make your structure more sturdy. We used a basic brick pattern. TIP: Be sure to have a way to add string so it can be worn like a necklace or tied to the handle of your treat bag.
5. Remove the cardstock.
6. Draw the bottom of the holder.
Optional: Add a decorative pumpkin or ghost to the outside of the flashlight holder.


Lacerations caused from carving pumpkins accounted for 33.3% of the finger and hand injuries sustained on Halloween.
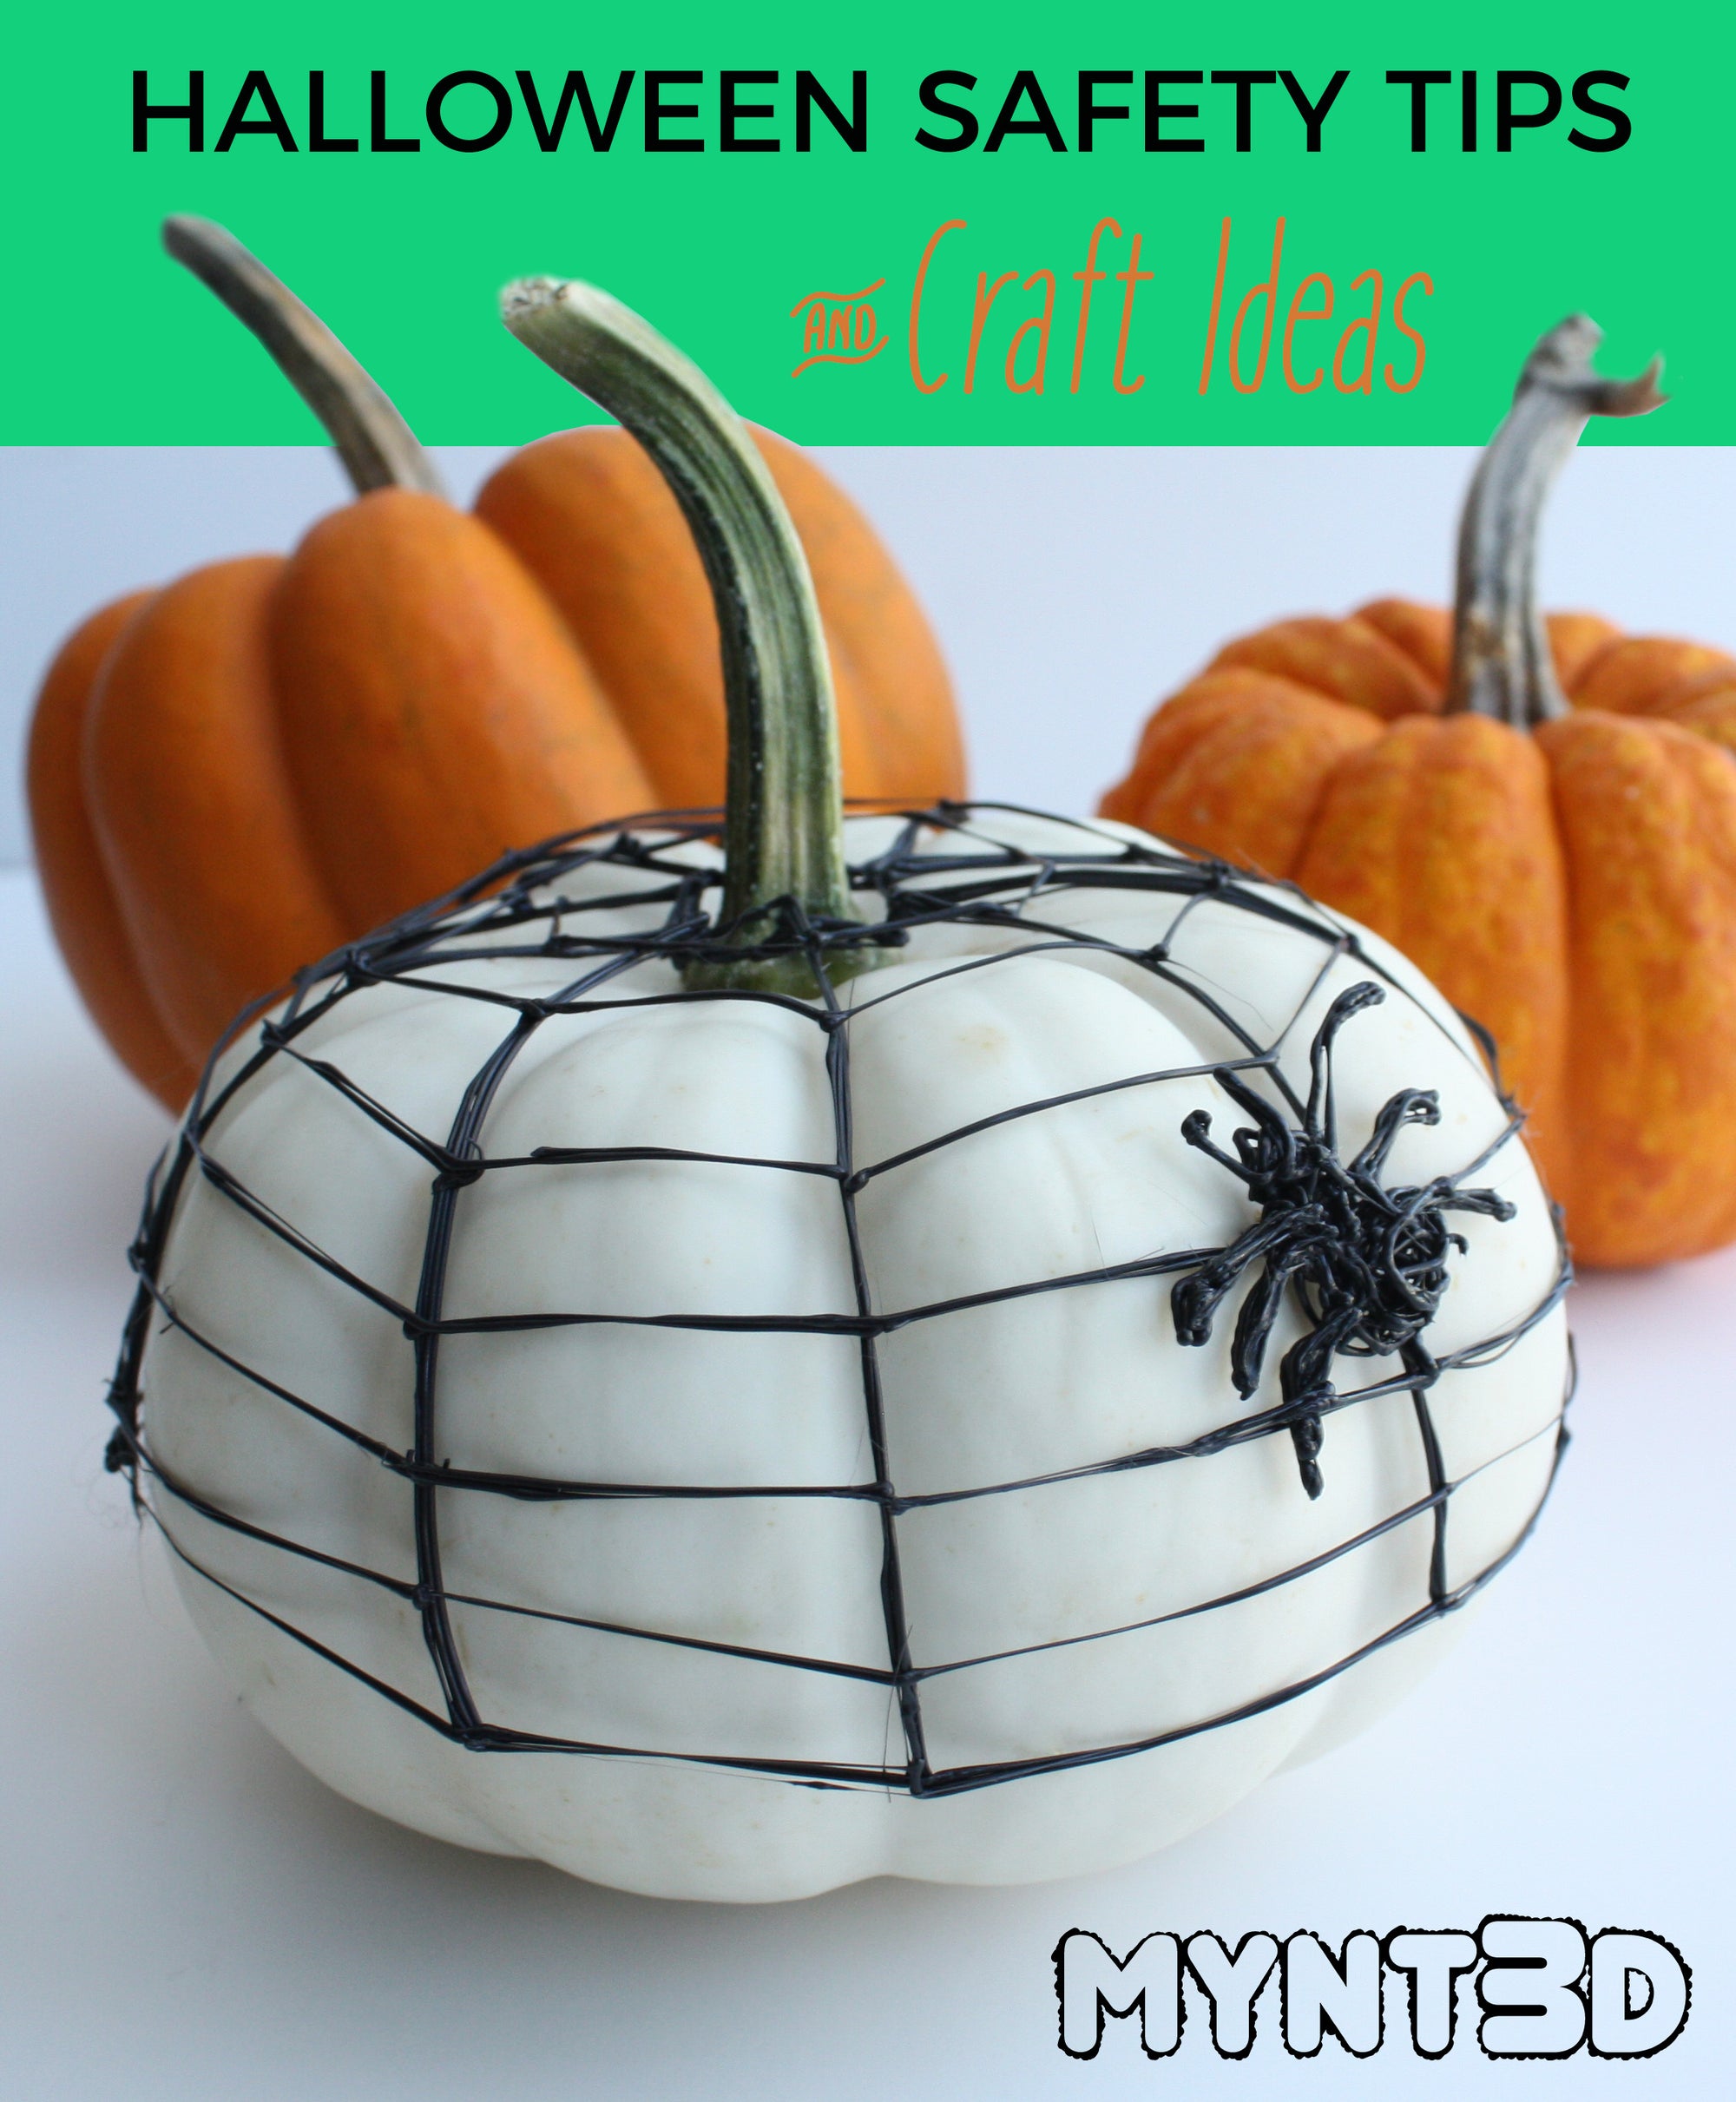
To avoid this scary statistic, we have a no-carve solution! We're using the 3D printing pen to draw a spider web over our pumpkin.
1. Start by making a square with your 3D pen. Make sure it's large enough to slip over the pumpkin stem.
2. Slide the square over the stem and begin drawing radial lines away from the square and around curve of the pumpkin. You'll want to double back over the lines to make them thicker.

3. Then draw a spiral, starting at a corner of your square, touching on the radial lines as you circle around the pumpkin.
4. Draw and attach a little (or big!) spider to the web with the MYNT3D pen.
Note: We used luminous filament on one of pumpkins. Glow-in-the-dark is a safe alternative to using candles, which in another cause of injury on Halloween.
Have a happy and safe Halloween!
Comments will be approved before showing up.
