Your Cart is Empty
Free shipping on orders over $35 - continental US

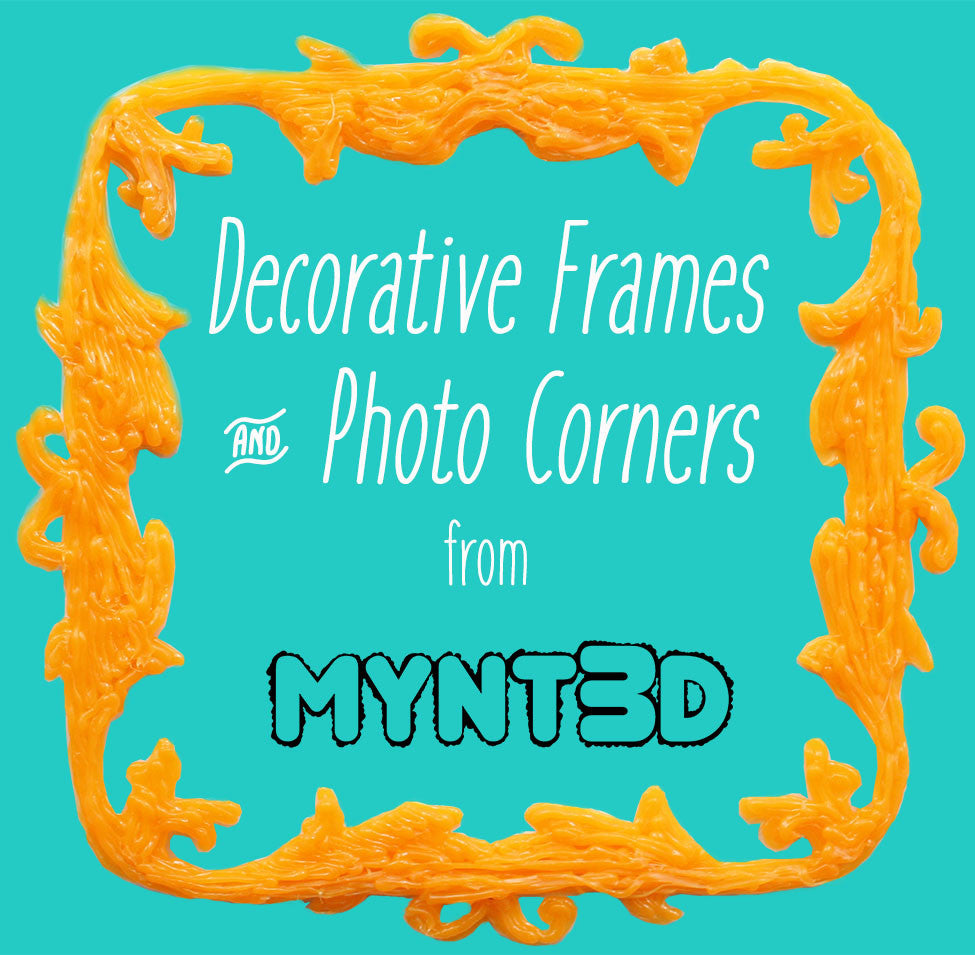
When it comes to decorating your home or office, having the customization that comes with a 3D printing pen can be quite handy. Taking into consideration everything from personal style, color schemes and available space, you can use your MYNT3D pen to create the exact size, shape and color frames needed for your art, photos and keepsakes.

1. Start by downloading the Mini Frames and Photo Corners Template. Use your printer settings to scale stencils if desired.
2. Start heating your 3D pen. When it reaches the proper temperature, load your desired filamentcolor.
3. Trace over both the inner and outer edges of the decorative frame of your choice. Then fill in the center, stroking back and forth in a zig zag motion.
4. For the frame backing, create a separate piece following the lower 3/4 of the frame stencil. Attach to the frame on the sides and bottom, at a depth consistent with the piece you’re putting in the frame.

5. To make a tabletop or desktop frame, trace and fill in the easel pieces on the template.
6. Attach the square piece perpendicular at the bottom for added stability.
7. Optional: Decorate the frame with words or embellishments in contrasting colors.

1. Trace the triangle and the triangle with the cut out, and fill in with filament of your choice.
2. Add a few lines of layered filament to the right angle edges of the bottom triangle.
3. Attach the top and bottom together with the MYNT3D pen.
4. Repeat until you have 2 or 4 photo corners for each photo or keepsake.
Project Idea: Glue thumbtacks or magnets to the back side of the photo corners so you can use on cork boards, metal cabinets and refrigerators.

Comments will be approved before showing up.
