Your Cart is Empty
Free shipping on orders over $35 - continental US
Free shipping on orders over $35 - continental US
Free shipping on orders over $35 - continental US
January 06, 2018 3 min read
Are you ready for the NFL playoffs - or better yet - the Super Bowl?
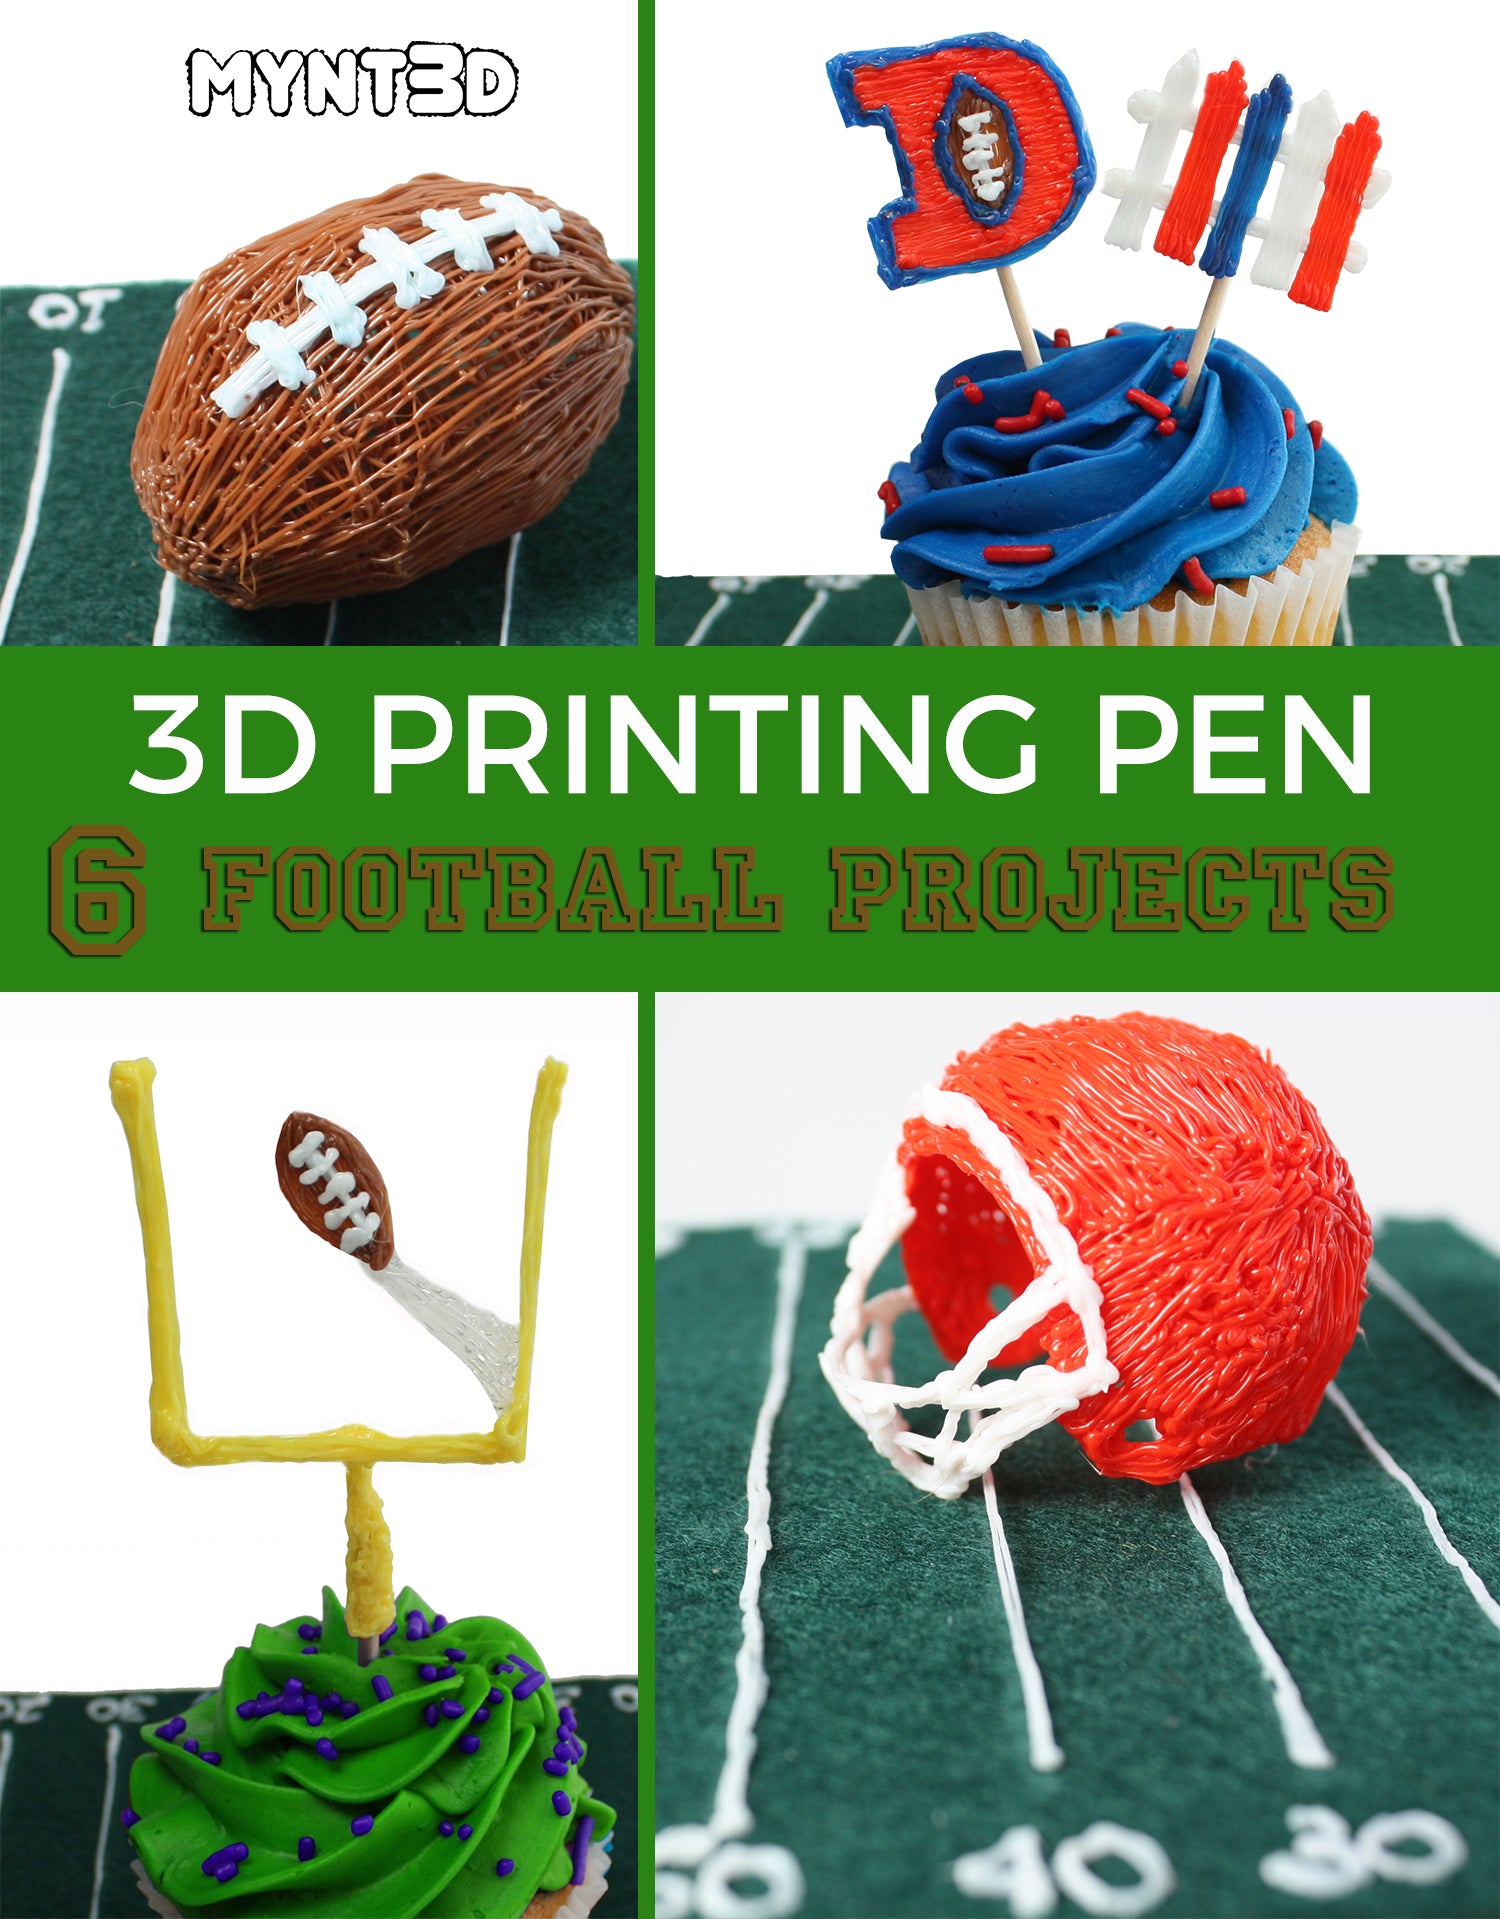
We are excited to fuel the "fandemonium" with some fantastically fun 3D printing pen projects.
Our free project template includes the following projects: goal post, football, D + fence and team helmets - beginner and advanced!
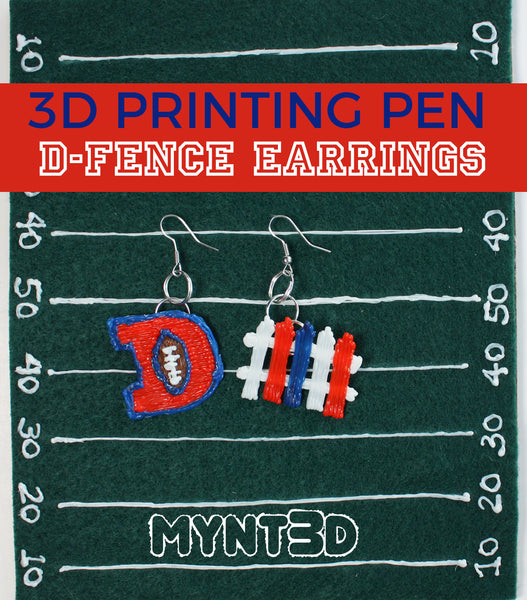
3D printing pen football art D - Fence project template can be made into game day earrings or cupcake toppers for a Super Bowl party.
1. Start by downloading the Football Projects Template. Use your printer settings to scale template if desired.
2. Start heating your 3D pen. When it reaches the proper temperature, load filament color of your favorite football team.
3. Begin tracing the template.
4. Add a little loop on the top or back by drawing over the tip of a pencil.
5. Attach earring hooks and a jump loop for earrings...or a toothpick for cake toppers.
NOTE: 3D pen filament should not be inserted directly into food and should always be attached to a toothpick or skewer.
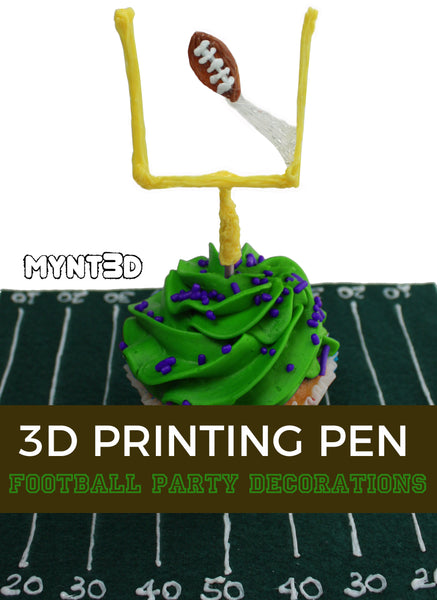
1. Start heating your 3D pen. When it reaches the proper temperature, load yellow filament.
2. Begin tracing both pieces of the goal post template separately.
3. Connect the pieces with the 3D printing pen.
4. Load the brown filament to draw the smaller football. Use white filament for the laces.
5. Use the clear filament, in a swooshing arch to attach the football to the goal post - making it look suspended in the middle.
NOTE: 3D pen filament should not be inserted directly into food and should always be attached to a toothpick or skewer.
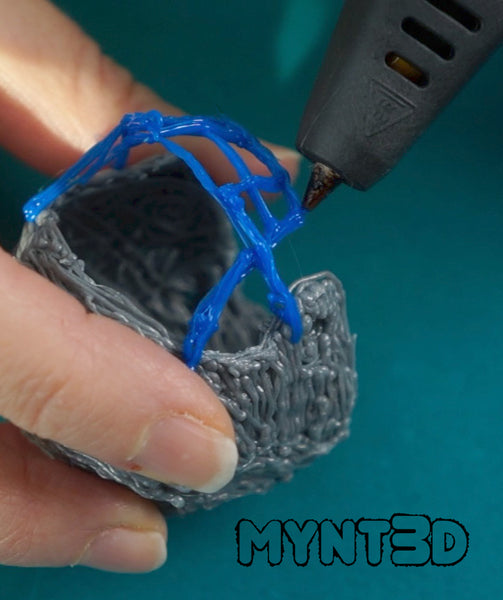
This project is easiest when a round or oval plastic form is used.
1. Start heating your 3D pen. When it reaches the proper temperature, load filament color of your favorite football team.
2. Use a washable marker to draw the outline of the helmet on your plastic form.
3. Start winding the filament around your form, criss crossing it over filament. The filament will stick to itself, making it easier to take shape. Then you can draw around your marker guides on the form.
4. Once the helmet looks like grid shape, remove from the form and fill in the gaps.
5. Draw the face mask on your form - first with washable marker. Then go over with the 3D pen.
6. Attach the face mask to the helmet.
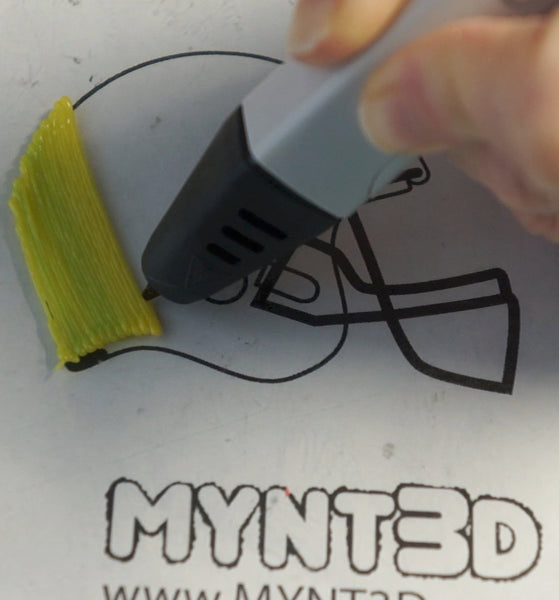
Be sure to download the free printable template stencil.
1. Start heating your 3D pen. When it reaches the proper temperature, load filament color of your favorite football team.
2. Begin tracing the helmet part of the template.
3. Separately draw the face mask and attach.
4. If you're feeling ambitious, draw on your team logo!
TIP: To have your helmet stand upright, draw a triangle easel perpendicular on the back.
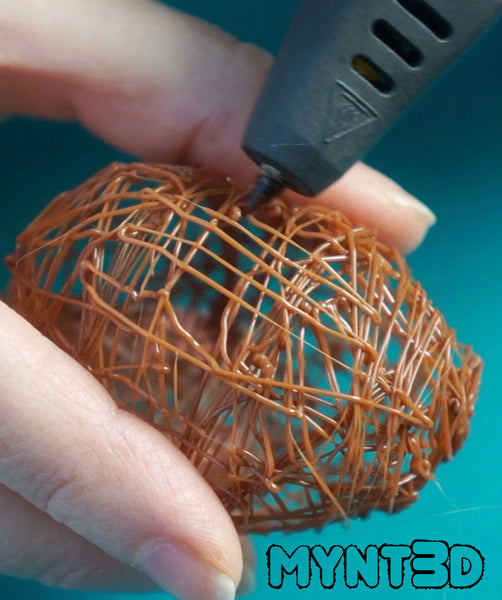
1. Start heating your 3D pen. When it reaches the proper temperature, load brown filament.
2. Start winding the filament around the pointy end of a plastic egg, criss crossing it over filament. The filament will stick to itself, making it easier to take shape.
3. When you have a grid-like structure of one half of the egg, remove and repeat.
4. Use the MYNT3D pen to connect the 2 halves.
5. Fill in the filament gaps.
6. Load white filament and draw on the laces.
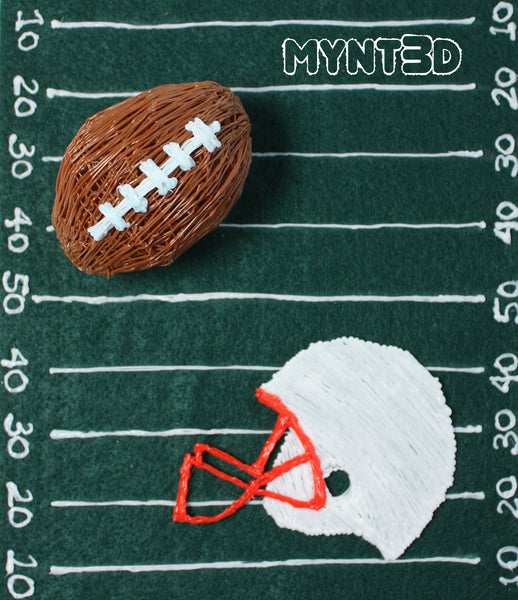
1. To make the football field cut a piece of green felt to your desired size. When it reaches the proper temperature, load brown filament.
2. Use a white colored pencil to mark the lines.
3. Draw over the white lines with the 3D pen loaded with white filament.
4. Draw in the yards (numbers) on the side lines.
5. Glue the felt to a piece of cardboard for added stiffness.
3D Pen Football Projects from MYNT3D on Vimeo.
Comments will be approved before showing up.