Your Cart is Empty
Free shipping on orders over $35 - continental US


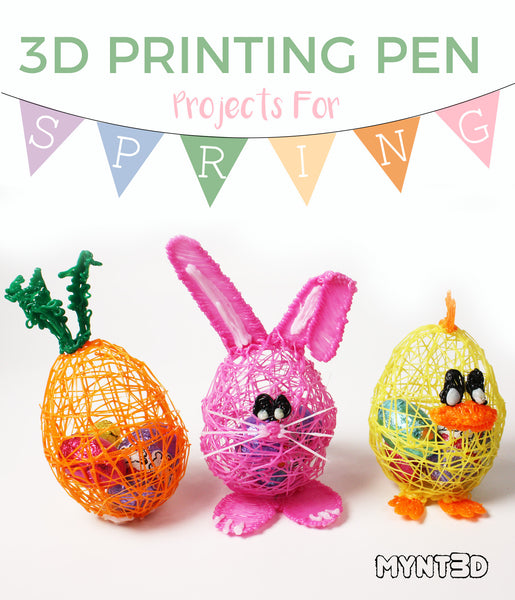
There's nothing like a "crafternoon" making Springtime memories or starting some new traditions for the Easter holiday. If you are looking for relaxing and fun projects to do with the kids, we've created a simple Easter egg craft that can be embellished into adorable characters for Spring.
Just when you may be wondering if there are any exiting new twists for Easter egg hunts we've got an idea that makes for a lively family activity. All you needs is your MYNT3D pen, filament in the happiest colors of the season, and a plastic egg to get started.
Supplies:
• MYNT3D pen
• Filament colors in bright Spring colors
• Plastic egg
• Foil wrapped chocolate
• Pencil
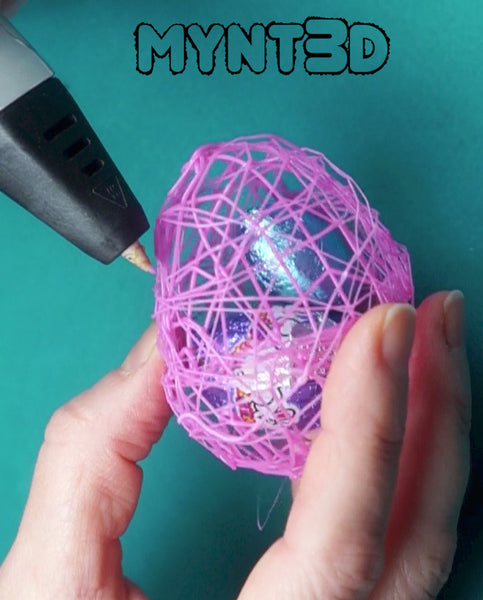
1. Start by drawing the filament around the widest part of the plastic egg.Then draw up and around the top of one end of the egg.
2. Criss-cross up and over and around forming a "wire frame" of half the egg.
3. Repeat with the other half of the egg shape.
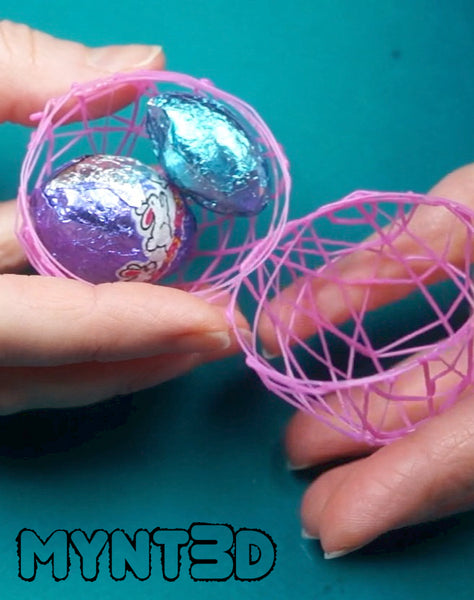
4. Fill one half of the egg structure with Easter candy and hold the egg halves together with the candy inside.
5. Use the MYNT3D pen to attach the egg pieces together by winding the filament up and around.
Activity Ideas: These eggs are cute to use for an Easter egg hunt. You can assign each kid a color to find, or draw their name on the egg. They are also fun to toss back and forth because the chocolate inside moves around, making them more of a challenge to catch!

1. Start by downloading the Easter Bunny Template.
2. Begin tracing the bunny ears. Draw the flopped ear pieces separately and join, leaving a small gap between them. TIP: It's helpful to hold the 2 pieces on either side of a pencil and draw over the pencil curve.
3. Trace the feet.
4. Attach the feet and ears to one of your chocolate filled eggs. Draw on the bunny nose.
5. Switch to white filament. Draw a stripe down the center of the straight ear and on the inside piece of the flopped ear. Draw on "toe nails" and pads of the feet. Flip the egg to the back to coil filament around to form the cotton tail. Draw on whiskers - start at the nose and pull and hold, letting the filament harden in straight lines.
6. Lastly draw on the eyes using black and white filament.
1. Start by downloading the Spring Chick Template.
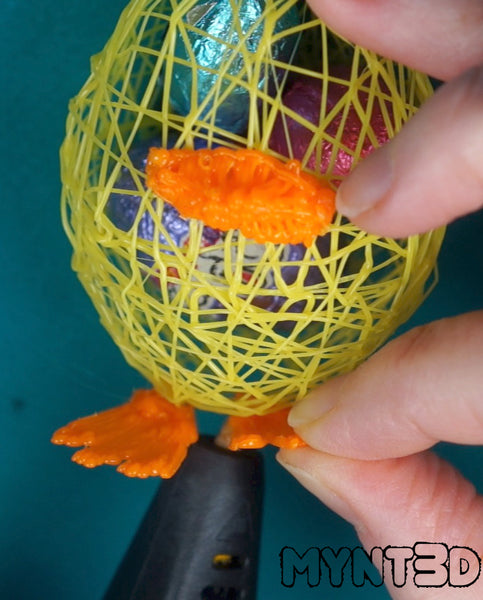
2. Begin tracing the head feathers and feet.
3. To make the beak, trace outline of the front view of the beak template.Then place a pencil tip down the vertical center of the beak. Draw horizontal center line starting at one side of the beak, up over the pencil tip and down to the other beak side. Next draw filament from the outline edge of the beak up to the pointed center line.
4. Attach the feet, head feathers and beak to one of your chocolate filled eggs.
5. Lastly draw on the eyes using black and white filament.
1. Start by downloading the Spring and Easter Template.
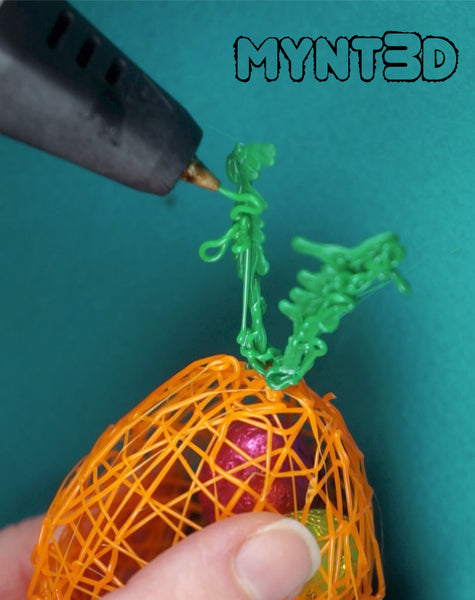
2. Begin tracing the leafy top part of the carrot. TIP: Do not connect the three leafy sprouts - leave them separated from each other.
3. Use the MYNT3D pen to connect the leafy tops to the top of an orange colored egg. Or you can trace the carrot template separately.
4. Attach the leafy pieces and draw loops of filament around the flat piece for added dimension.
Comments will be approved before showing up.
