Your Cart is Empty
Free shipping on orders over $35 - continental US
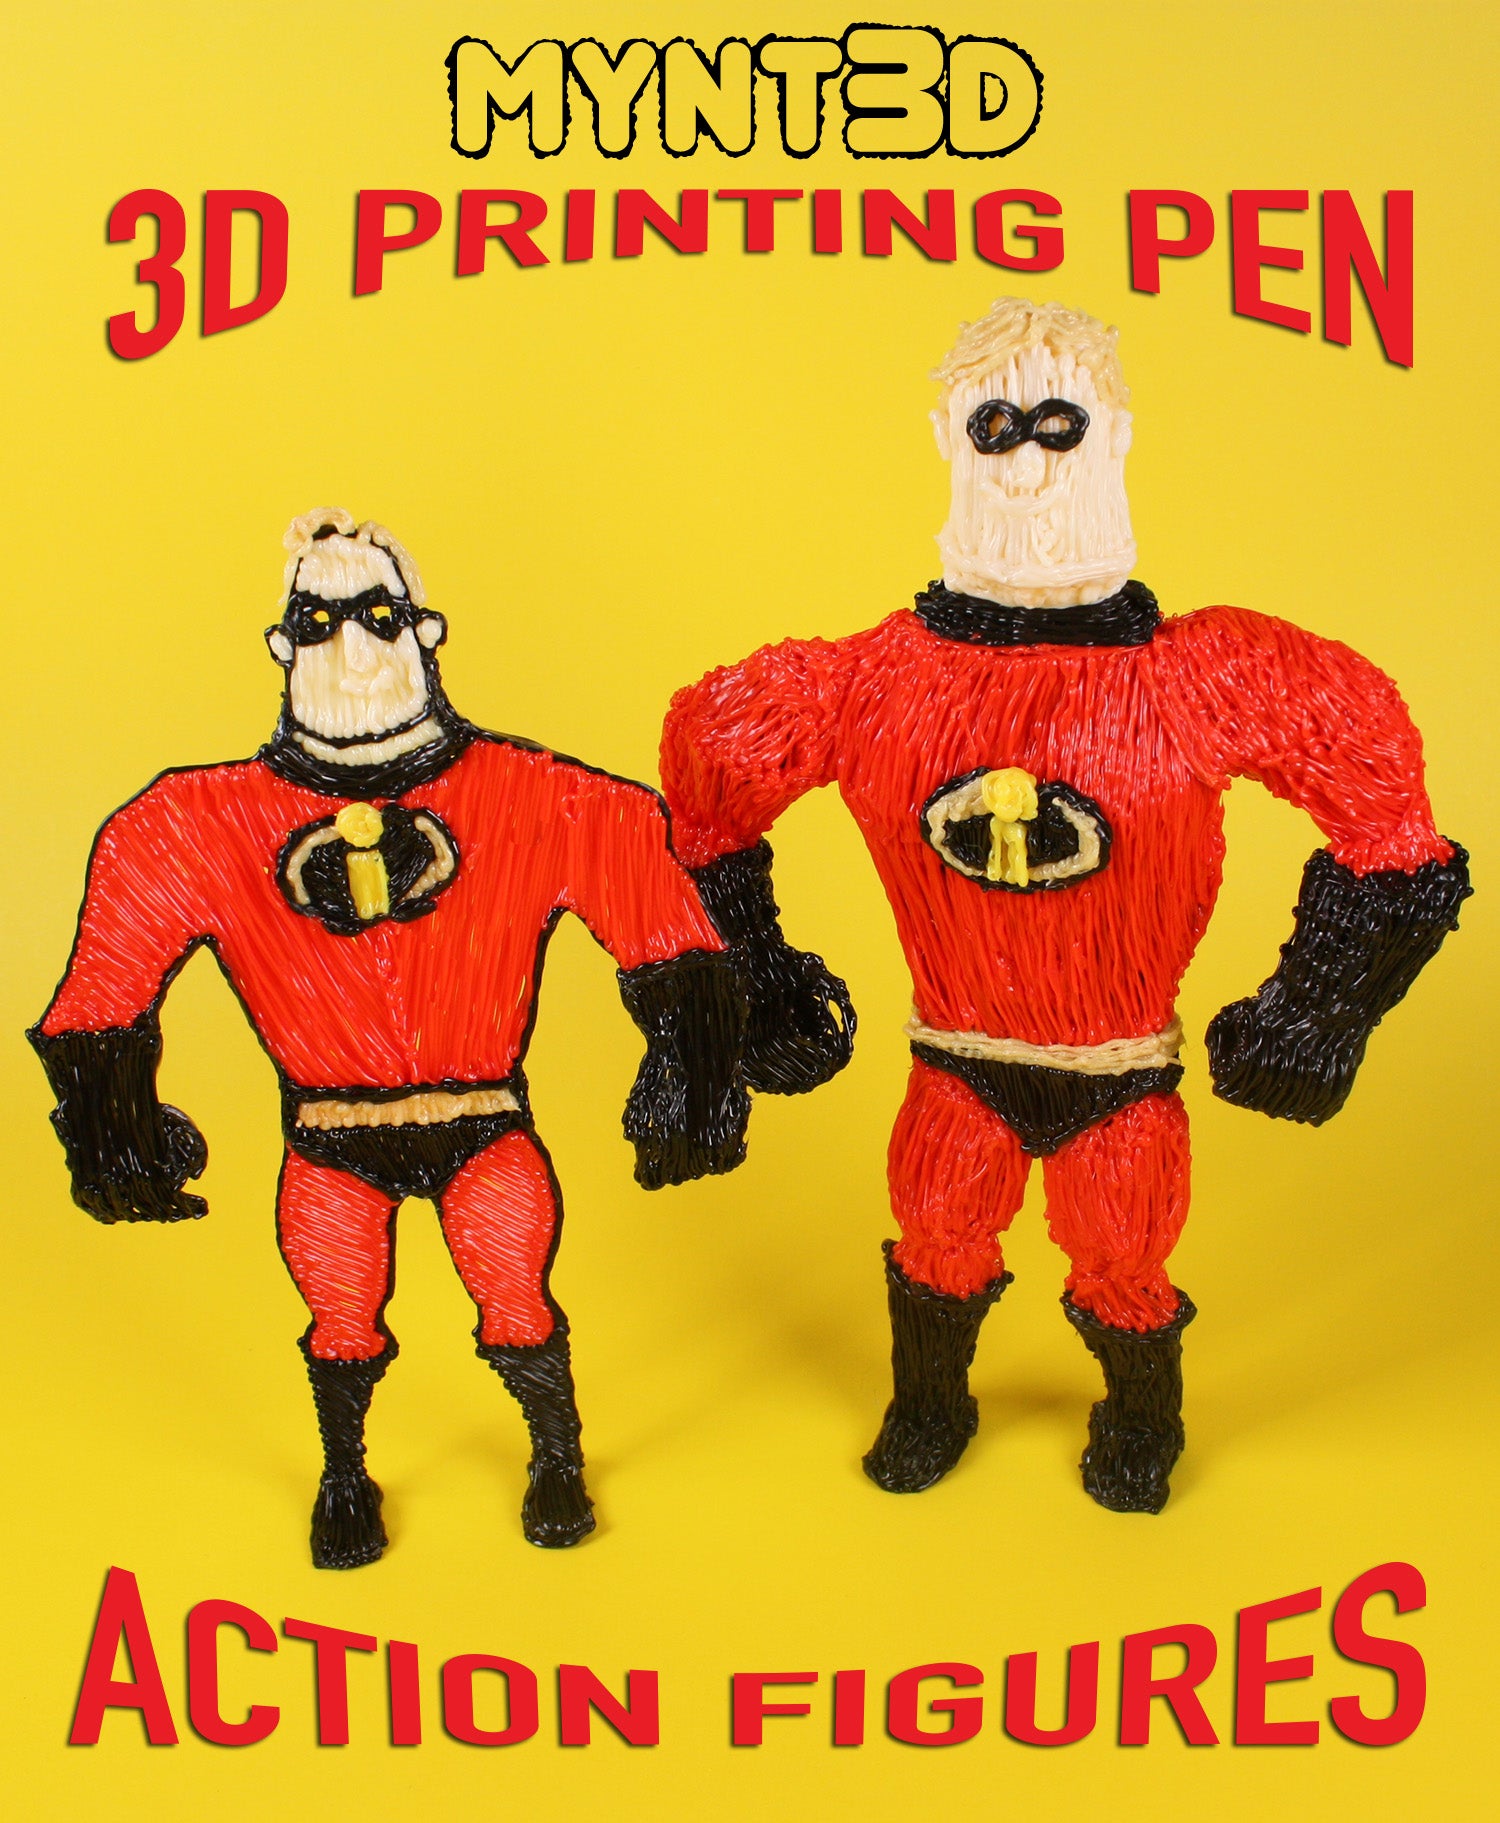

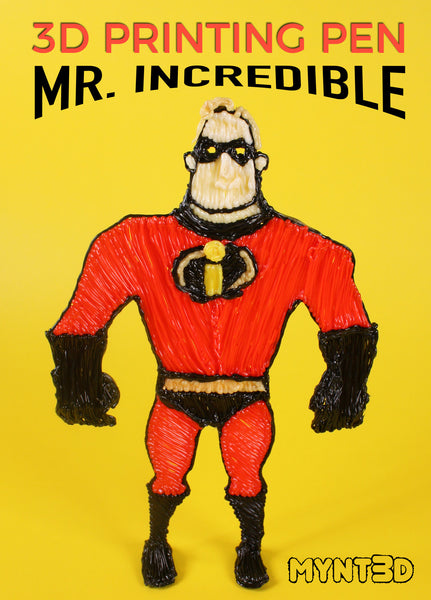
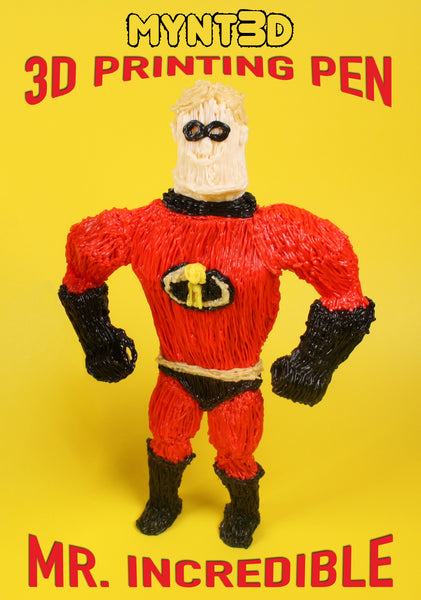
This week, we bring you a beginner and advanced action figure project. We’ll be using the lovable Mr. Incredible to demonstrate form, proportion and muscle structure.
Did you know, superheroes are a great subject for figure drawing because of their tight costumes and exaggerated structure? We've got some tips for you on how to build-out the body shape to form muscle mass.
So heat up your MYNT3D pen, grab your filaments and download the free stencil template.
Supplies:
• Filament color from the Super 32 pack of ABS: Red, Black, Gold, Yellow, Sand
• Mr. Incredible free project template
• Toothpick
• Sticky tack
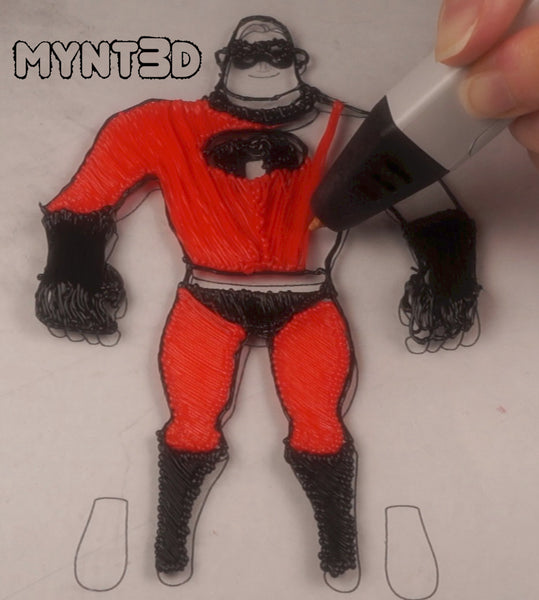
1. Our beginner project is an easy exercise in flat lines and filling in with color. Start by tracing the black outlines of the template.
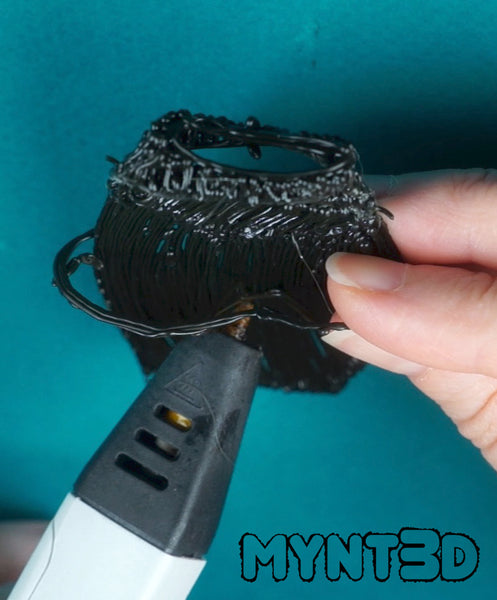
2. To experiment with 3D details, draw around a toothpick to form bent fingers.
3. Fill in the large sections of color followed by the finer details like the logo and facial features.
4. Next, draw the feet separately and connect perpendicular to the legs. Reinforce the connection and add filament as needed until Mr. Incredible can stand on his own. TIP: Place sticky tack under the feet to hold them in place when connecting.
5. Lastly, Flip over your guy to draw the thumb.

1. For the advanced version, start by tracing and filling in the project template, except separate the body pieces at the joints.
2. Create a 3d form with play dough or a plastic piece shaped to match the template. Wind around to form a grid structure, leaving the neck area open. Remove from the form and fill in.
3. Draw the mask like a figure 8. Then draw on the nose, mouth, ears and hair.
4. Moving on to the torso, draw elliptical shapes based on the neckline, bust and waist of the template.
5. Attach them in place on the flat torso piece. It will be as if you’re creating a wire dress form.
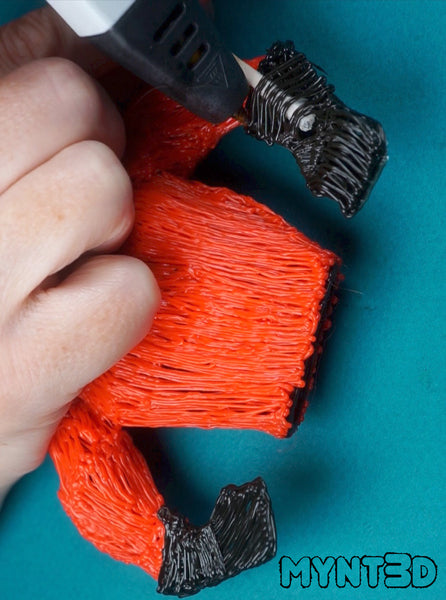
6. Next load red filament and draw vertically over the ellipses.
7. Coil filament for the pectoral and abdominal muscles.
8. Cover with a top layer of filament.
9. For the arms, draw an elliptical shape defining the bicep muscle and attach around the flat, upper arm piece.
10. Place a toothpick between the ellipse and the edge of the arm and draw over it. Attach the upper arms to the torso.
11. Draw an elliptical shape at the elbow of the template. Hold it in place below the upper arms and attach.
12. Attach the flat glove pieces to the ends of the arms.
13. Use a toothpick to draw around to form bent fingers. Hold the toothpick in line with the glove sleeve and draw over it. You’ll want the toothpick angled so the depth gets greater as it goes up the arm.
14. Flip over your project to draw the thumb.
15. Attach the lower body flat piece to the torso.
16. Fill in the gold belt.
17. Fill in the underpants. Use toothpicks to assist with adding depth to the buttocks.
18. Stand your project upright and attach the feet.
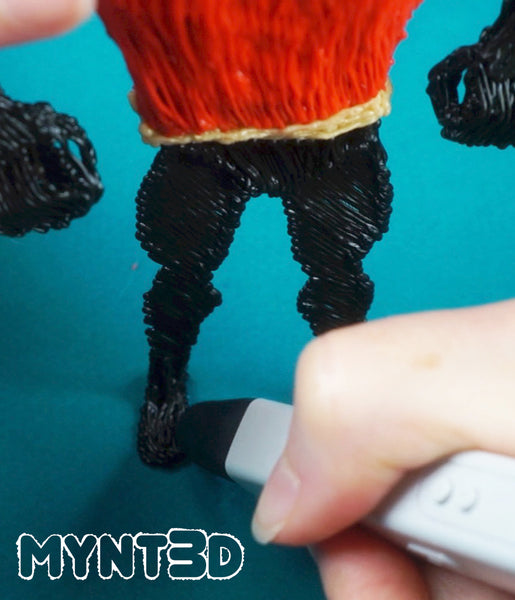
19. Lay the project down and hold the toothpick in line with the bootlegs and draw over them. You’ll want the toothpick angled so the depth gets greater as it goes up toward the knees. Repeat on the back of the boots.
20. Next, draw the leg muscles, again using the help of the toothpick, angled so the knee joints and hip joints are narrow and the muscles bulge in the center.
21. Lastly, add the logo by first drawing the black part on the template then attaching to the chest. Fill in the logo details directly on the chest.
Comments will be approved before showing up.
