Your Cart is Empty
Free shipping on orders over $50 - continental US

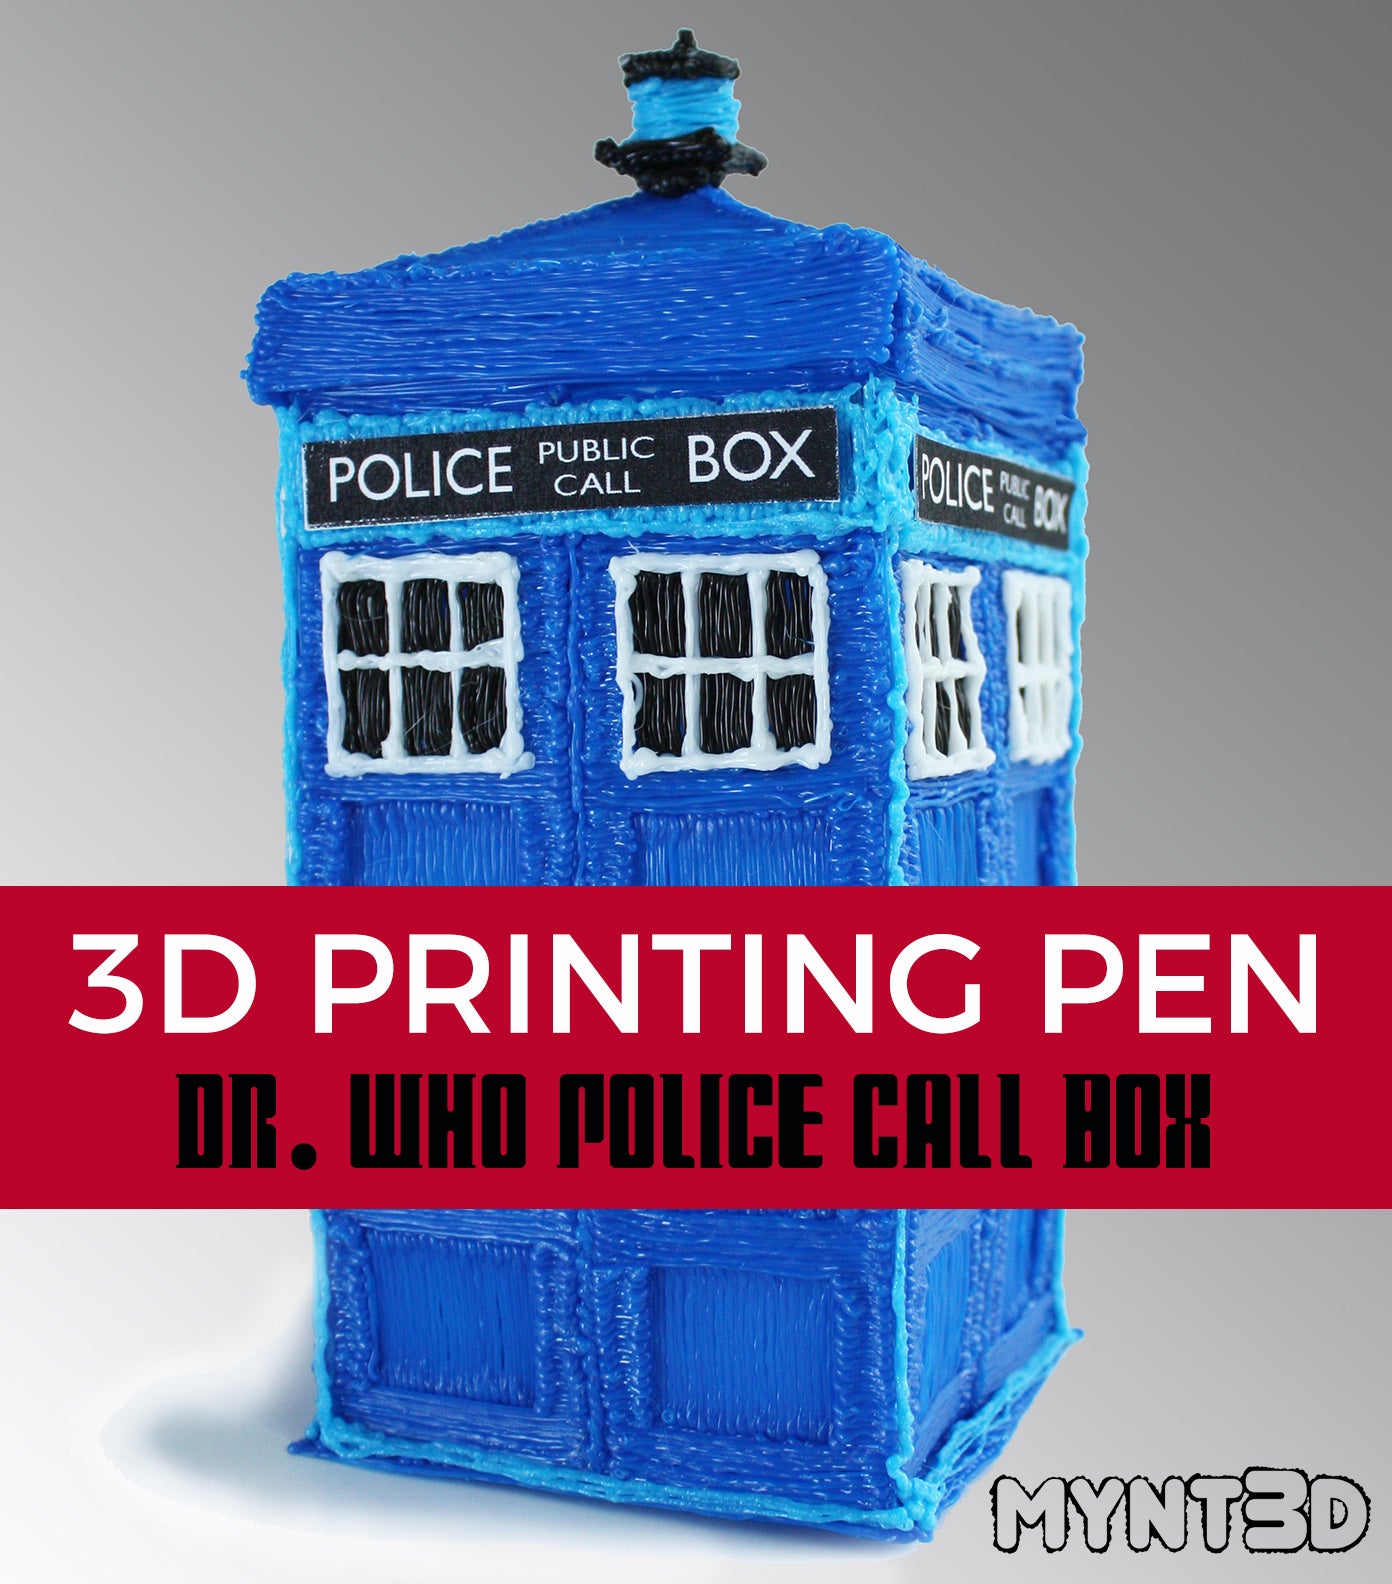
When it comes to fan favorites, Doctor Who has been building a cult following for over 5 decades. In fact, on November 23rd, Dr. Who will be celebrating the 54th anniversary of its very first episode.
In honor of this momentous day, we've created the full project template and tutorial for you to make the iconic police call box, TARDIS.
Now, should you not be a Doctor Who viewer or enthusiast, you can use red filament instead of blue to make the ubiquitous British phone booth instead.

1. Start by downloading the Dr. Who Phone Booth Project Template. Use your printer settings to scale template if desired.
2. For the Doctor Who phone booth we used the following filament colors: blue, black, white, and luminous blue (glow in the dark). These are all found in the NEW 32 pack of ABS filament from MYNT3D (coming soon).
3. Start heating your 3D pen. When it reaches the proper temperature, load blue filament.
3. Begin filling in the door frames, base, roof (triangles) and roof frame. Draw the inner rectangles on the doors separately from the frame as shown in the photo to the left. Connect pairs of doors together so you have 4 sets.
4. Change filament color to white to draw in the window frames on the phone booth.
5. Flip the doors over and draw in the black background of the windows. Also trace the base of the rooftop light.
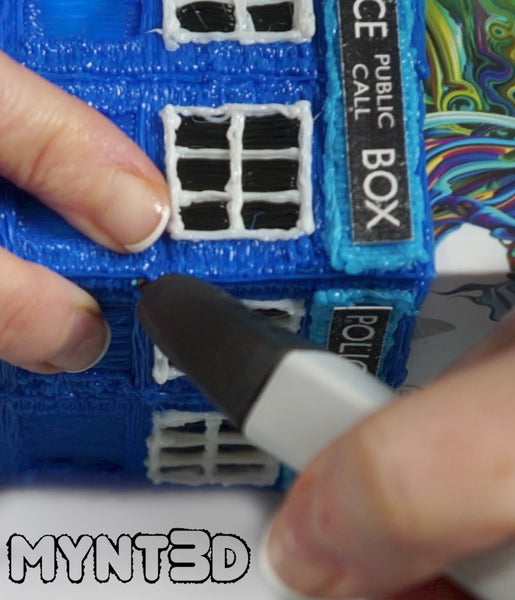
6. Load the luminous blue filament into the MYNT3D printing pen. Trace the background frame for the Police Call Box (TARDIS). Apply the printed Police Public Call Box sign with glue.
7. Use the 3D pen to attach the signs to the door panels.
8. To make the light on top of the phone booth, wind filament around a pencil. Wind for a distance of about 1/2". Set aside.
9. Connect the 4 sides of the phone booth with the luminous blue. TIP: use a box corner like the MYNT3D printing box (perfect size) to help get an accurate 90°angle.
10. Next, secure the square phone booth structure to the flat base.
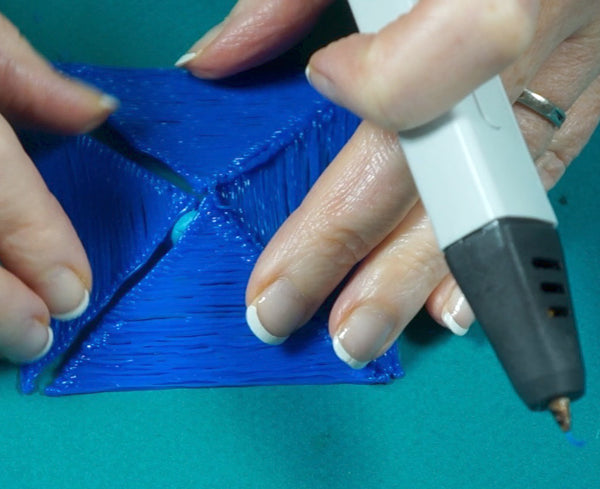
11. To make the roof, start by rolling a ball of tape or sticky tack that's about an inch in diameter. Place it on your work surface. Arrange the 4 roof triangles around it so that their sides fit together. Connect with the 3D pen.
12. Connect the roof bottom frame around the roof edges.
13. Line up the roof with the phone booth base. You may need to draw another layer over the roof frame so that it fits nicely on top.
14. Attach the rooftop light base, luminous blue light and draw on the light top with black filament.
Your Dr. Who Police Call Box can serve as a toy, decoration or a storage container!
You could even put an electric tea light in it to make it a luminary...or remove the roof to use as a pen and pencil holder.

Comments will be approved before showing up.
