Your Cart is Empty
Free shipping on orders over $50 - continental US
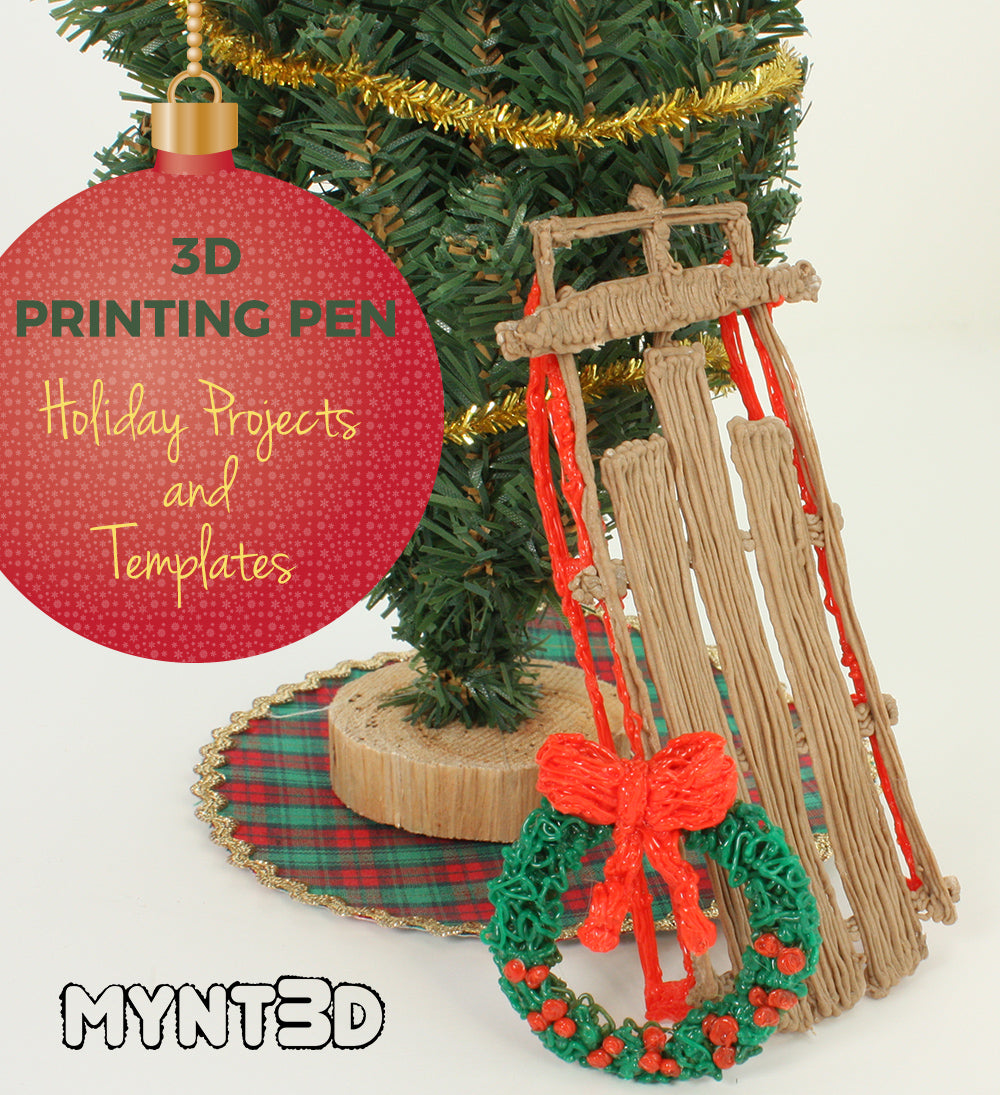

I certainly doesn't take much effort to get into the holiday spirit, but if you're looking for some fun new traditions this year, MYNT3D has put together festive projects for a very crafty winter season.
These DIY decorations are perfect for embellishing gifts, handmade ornaments, glass cloche centerpieces and more.
We've also incorporated some of our new, specialty filaments such as PLA wood filament for the vintage sled, and the transparent PETG for the candy pieces.
Put on your favorite holiday music and heat up your MYNT3D printing pen!
1. Start by downloading the Holiday Crafts Templates. Use your printer settings to scale template if desired.
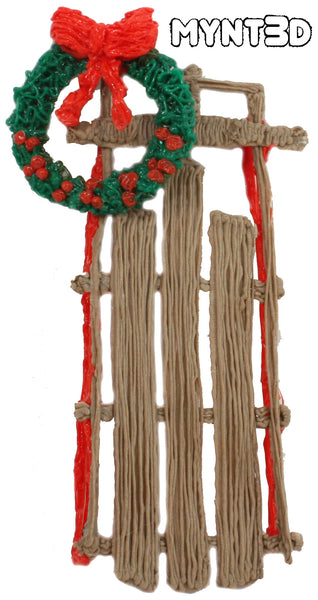
2. For the vintage sled we used the following filament colors: Red and PLA Wood.
3. Start heating your 3D pen. When it reaches the proper temperature, load red filament.
3. Begin by tracing the blades of the sled and set aside.
4. Change filament color to wood to draw top part of the sled.
5. Attach the blades perpendicular to the bottom of the sled on both sides.
1. Supplies: • Red and Green filament
• Toothpicks
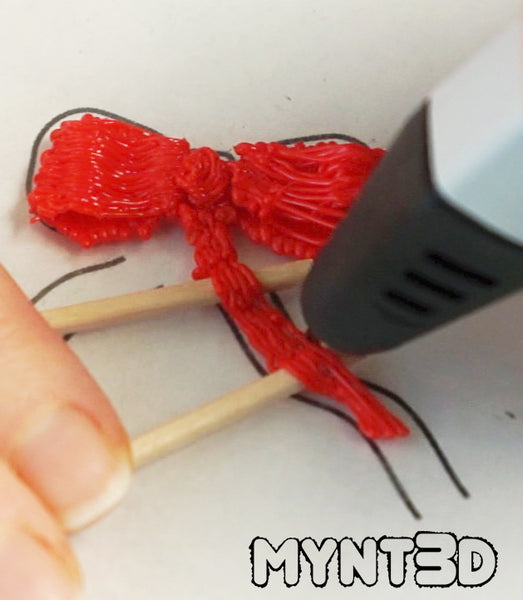
2. For the bow, start tracing and filling in the bow shape from the stencil template.
3. Place the toothpick on the outer edge of the bow and trace over. Repeat with the other side.
3. For the ribbons that hang down from the bow, position 2 toothpicks 1/2" apart, horizontally. Draw over to get a wavy effect.
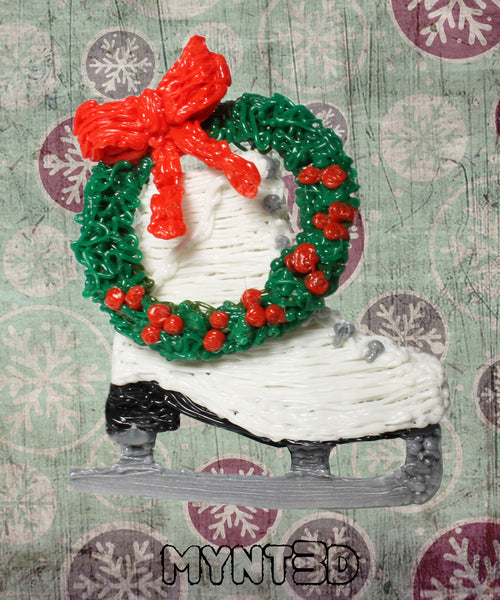
4. To make a holiday wreath, change filament color to dark green. Draw a circle a little bit smaller than your desired finished wreath. You can use the outline of the candy template as your circular starting point.
5. Freehand draw figure-eights over the circular base. Layer on filament until the wreath looks full and lush.
5. Switch back to the red filament to add on holly berries, and attach the bow.
1. For the figure skates we used the following filament colors: silver, black and white. These are all found in the NEW 32 pack of ABS filament from MYNT3D (coming soon).
2. Start by loading the silver filament into the MYNT3D printing pen and tracing the skate blade (x2). Set aside.
3. Next load black filament for the sole of the skate. Trace the ball of the foot part as a single filament layer. Layer filament over the rectangular heel part until it's 1/4" high. Draw back and forth from the foot to the top of the heel to achieve the shoe sole angle.
4. For the boot part of the skate, switch to white filament and trace the stencil template.
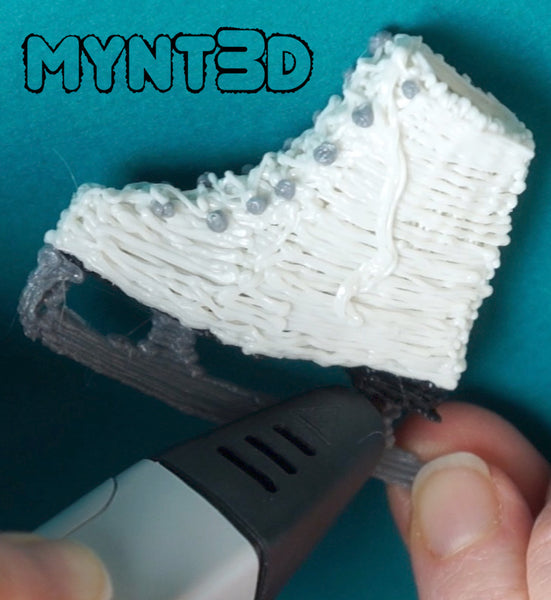 5. Position the 2D skate boot in the center of the black sole and attach by drawing from the outer edge of the sole to the top part of the boot. TIP: Add an oval perpendicular on the top of the skate boot. This will give better shape to the top of the boot.
6. Continue to draw in the filament to fill out the boot shape.
7. Add criss-crossing filament up the front of the boot to form laces. You can draw untied laces that drape down the side of the figure skate, or draw the filament upwards to created laces that can be used to hang the skate from - like a Christmas tree ornament.
8. Switch back to the silver filament to draw tiny dot grommets along the sides of where the laces criss-cross.
9. Attach the blade to the bottom of the skate boot.
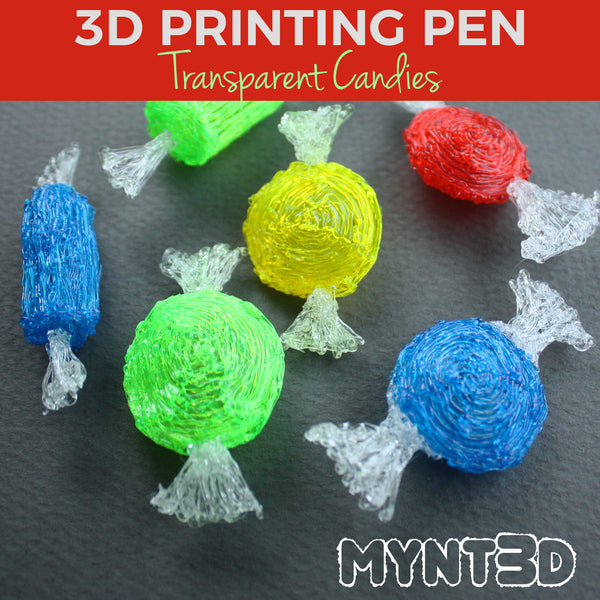
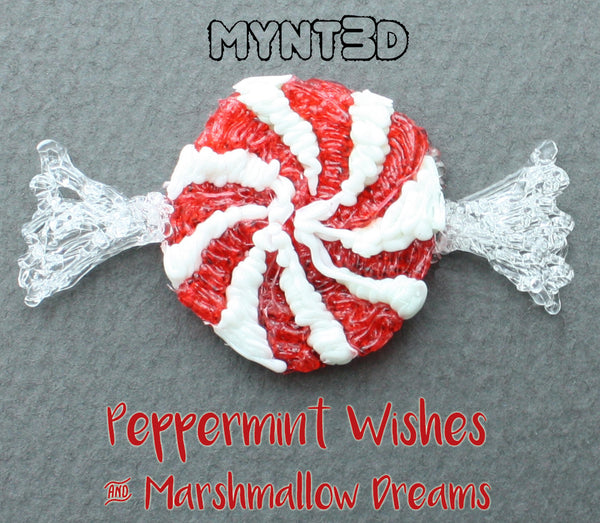
1. Start by downloading the Holiday Crafts Templates. Use your printer settings to scale template if desired.
2. For the wrapped candies we used PETG transparent filament in red, blue, green yellow and clear.
3. Start heating your 3D pen. When it reaches the proper temperature, load candy color filament.
3. To get the slight dome shape, we used a plastic egg, drawing in a spiral around the less-pointy end of the egg. Draw until you have a piece that's about an inch in diameter. Repeat for the other half of the candy piece, and connect.
4. Change filament color to clear. Trace the wrapper ends on the stencil template. Attach the cellophane wrapper on both sides.
3D Printing Pen Christmas Crafts from MYNT3D on Vimeo.
Comments will be approved before showing up.
