Your Cart is Empty
Free shipping on orders over $50 - continental US
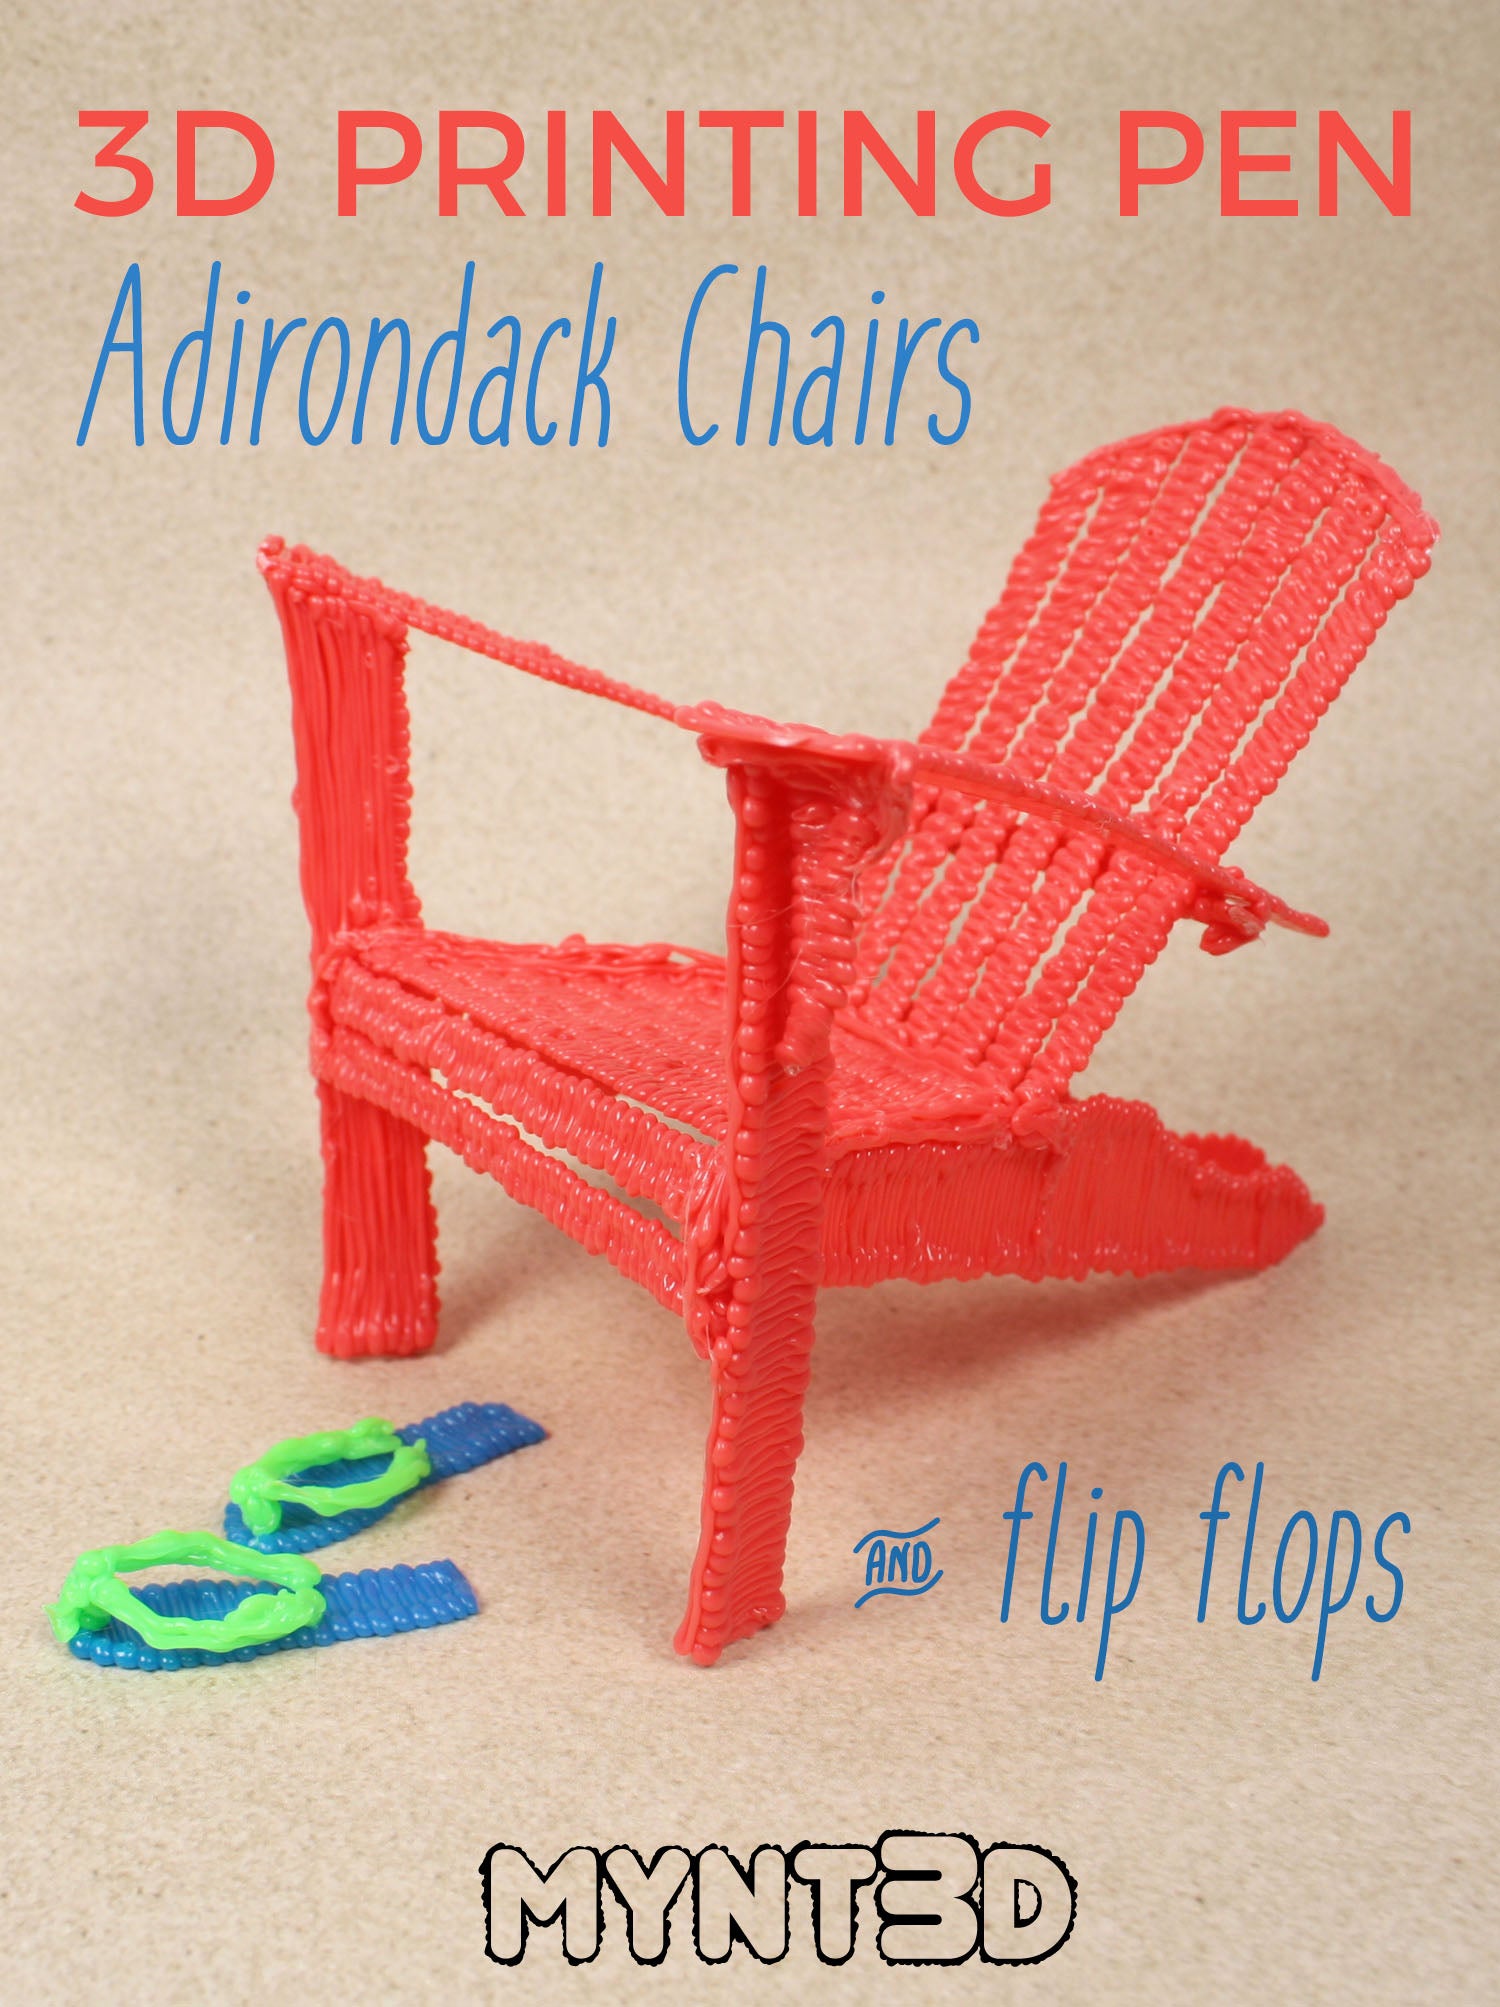

Summer is almost here, which means you're hitting the beach, the woods or getting some R&R in your own backyard.
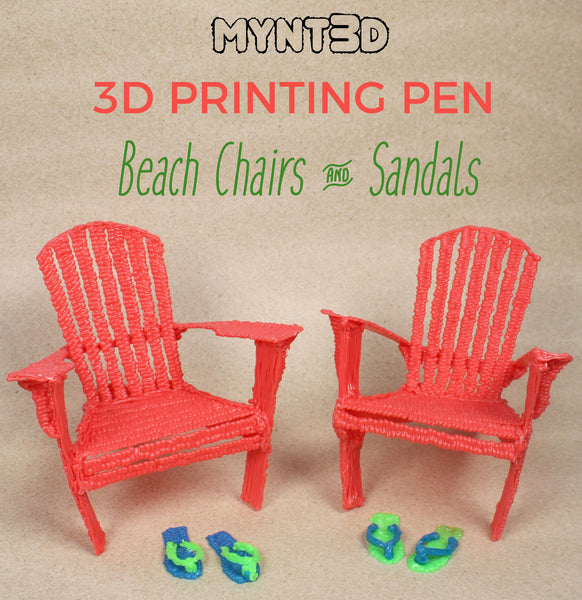
Over the last decade or so, iconic Adirondack chairs have migrated from the mountains of Upstate New York to the beaches of the Outer Banks. They've gone from traditional forest green to the bright colors of our favorite fruits.
So if you're creating a mason jar terrarium or a beach-themed fairy garden, these seats and sandals are a must.
Supplies:
• Filament color from the Super 32 pack of ABS: Christmas green for traditional Adirondack chairs, or a bright color for a beach chair. We used peach filament
• Adirondack beach chairs free project template
• Needle-nose pliers
• Sticky tack
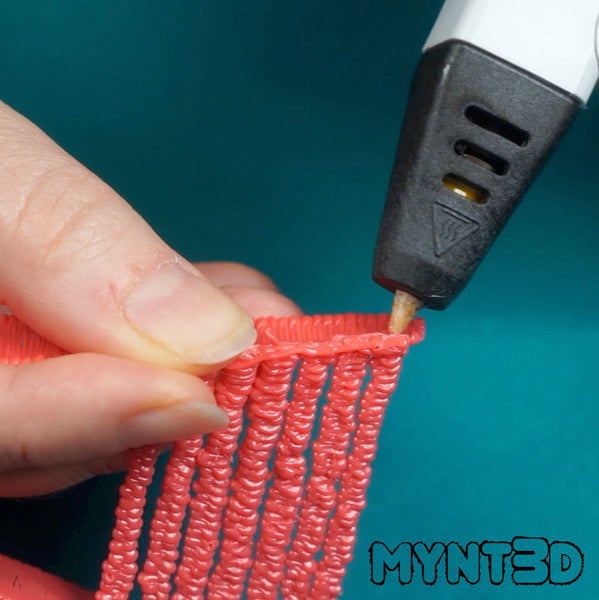
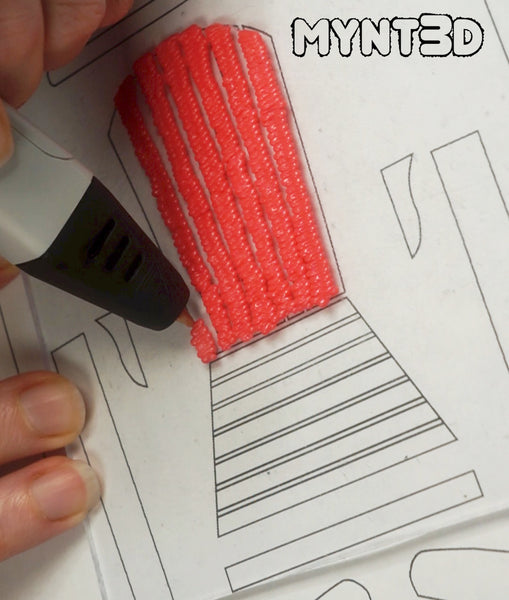
1. Start by filling in the slats of the chair back, zigzagging back in forth.
2. Connect the slats at the top arch and bottom.
3. Connect the seat of the chair with the side pieces that angle down to form the back legs.
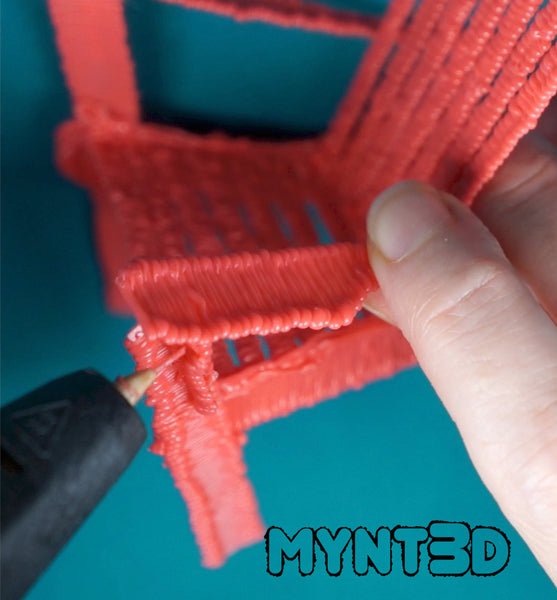
4. Lay the seat on its side and line up the bottom of the arm rest support with the bottom of the back leg. The connecting point will be about half way up the arm rest support.
5. Hold the arm rest brackets (small pieces that look like shelf supports) with needle-nose pliers up against, and perpendicular to the top of the arm rest supports. Connect with the 3D pen.
6. Attach the armrests onto its supports. Be sure to angle them so they slope down towards the chair back.
7. Place the back brace across the back of the chair. Connect to back and arm rests. Snip off excess back brace length with scissors so it's flush with the edge of the armrests.
8. Draw and attach extra slats between the two front legs of the chair. We added two slats spaced the same as the slats on the chair seat.
1. Start by filling in the sandal soles on the project template stencil.
2. With a complementing color, draw a dab of filament at the point that goes between the toes.
3. Draw the sandal straps using the project template.
4. Attach the flip flop straps to the sandal soles using your 3D printing pen.
Adirondack Chairs 3D pen tutorial from MYNT3D on Vimeo.
Comments will be approved before showing up.
