Your Cart is Empty
Free shipping on orders over $50 - continental US

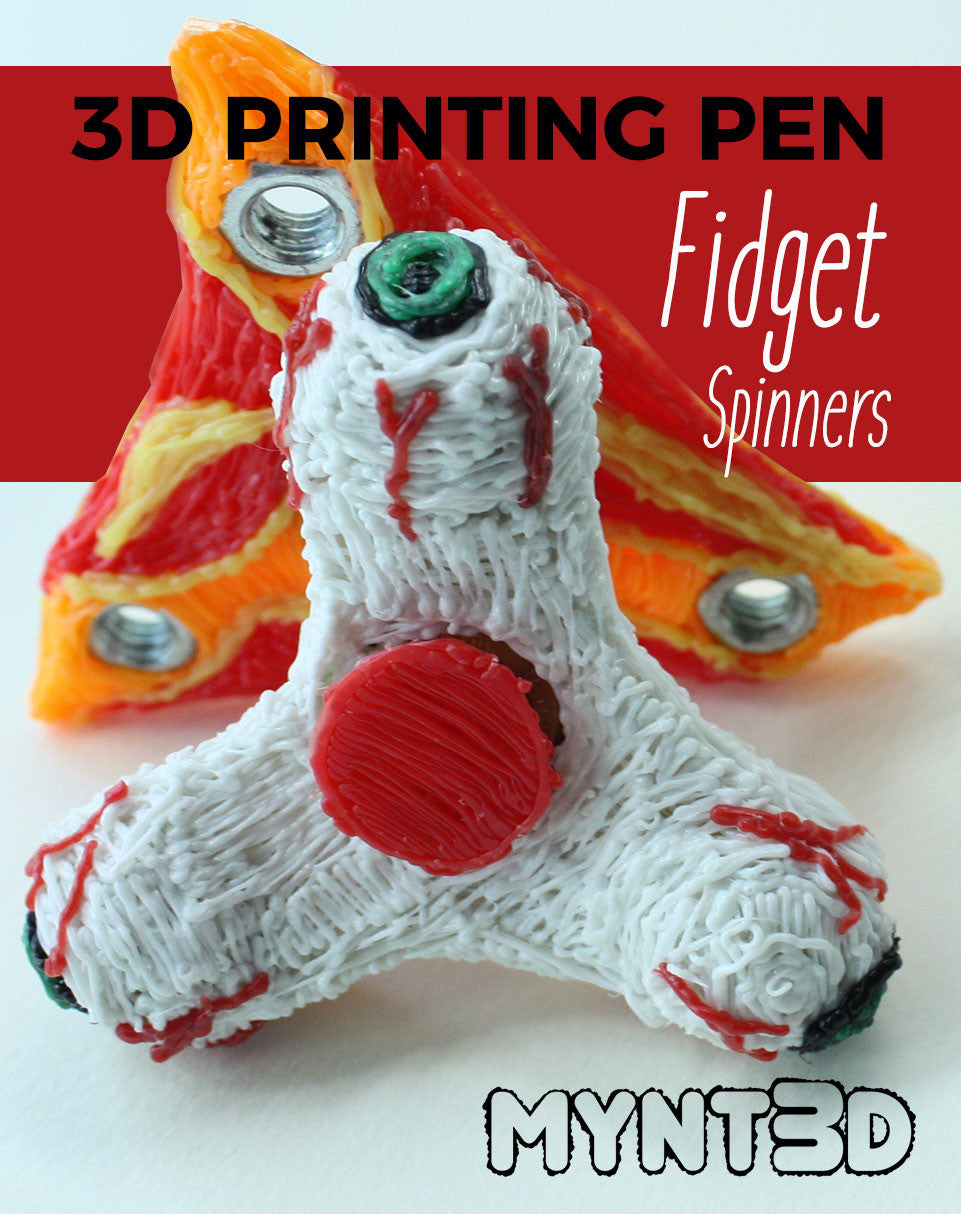
Fidget spinners are all the rage these days, and with the versatility of the MYN3D professional printing pen, you can make them to your own specifications and designs.
This means you can choose your size, shape, weights, and colors to make a truly unique spinner.

Supplies
MYNT3D professional printing pen
Bearing
3 Objects for weight such as marbles or metal nuts (this tutorial uses marbles)
Needle-nose pliers
Sticky tack

1. Start by downloading the Fidget Spinners Template. Use your printer settings to scale template if desired.
2. Start heating your 3D pen. When it reaches the proper temperature, load your filament.
3. Apply clear tape around the outside of the bearing.
4. Hold bearing with pliers because it will get very hot as you apply the filament around it. Be sure to fill in any gaps.
5. Use sticky tack to create a way to hold the marble without touching it as it will get extremely hot when covering with filament. Once you've applied a couple coats of filament over the marble, switch the positioning of the sticky tack and fill in where the marble is bare.

6. Once all three marbles are covered in filament, use the template to position them with the bearing in the center.
TIP: Use balls of sticky tack to elevate the bearing so that it's centered vertically with the height of the covered marbles. This will also hold the bearing in position in the next step.
7. Connect the pieces with the MYNT3D pen, using the template as a guide. Flip and fill in evenly on both sides.

8. To complete the functionality of your spinner, we recommend adding finger pads with a connecting axle. Start by using the template to trace the circles in the center of the fidget spinner stencil. Make 2 solid circles.
9. Fill in the center of the bearing with filament. Be sure to completely fill in the core so there is no jiggling.
10. Add a generous dab of filament to the top of the axle and quickly press on a finger pad. Repeat on the other side.
11. Secure the connection by carefully piping in filament between the axle and pad.
TIP: Add your own designs with other filament colors to make it truly unique!
Comments will be approved before showing up.
