Your Cart is Empty
Free shipping on orders over $50 - continental US
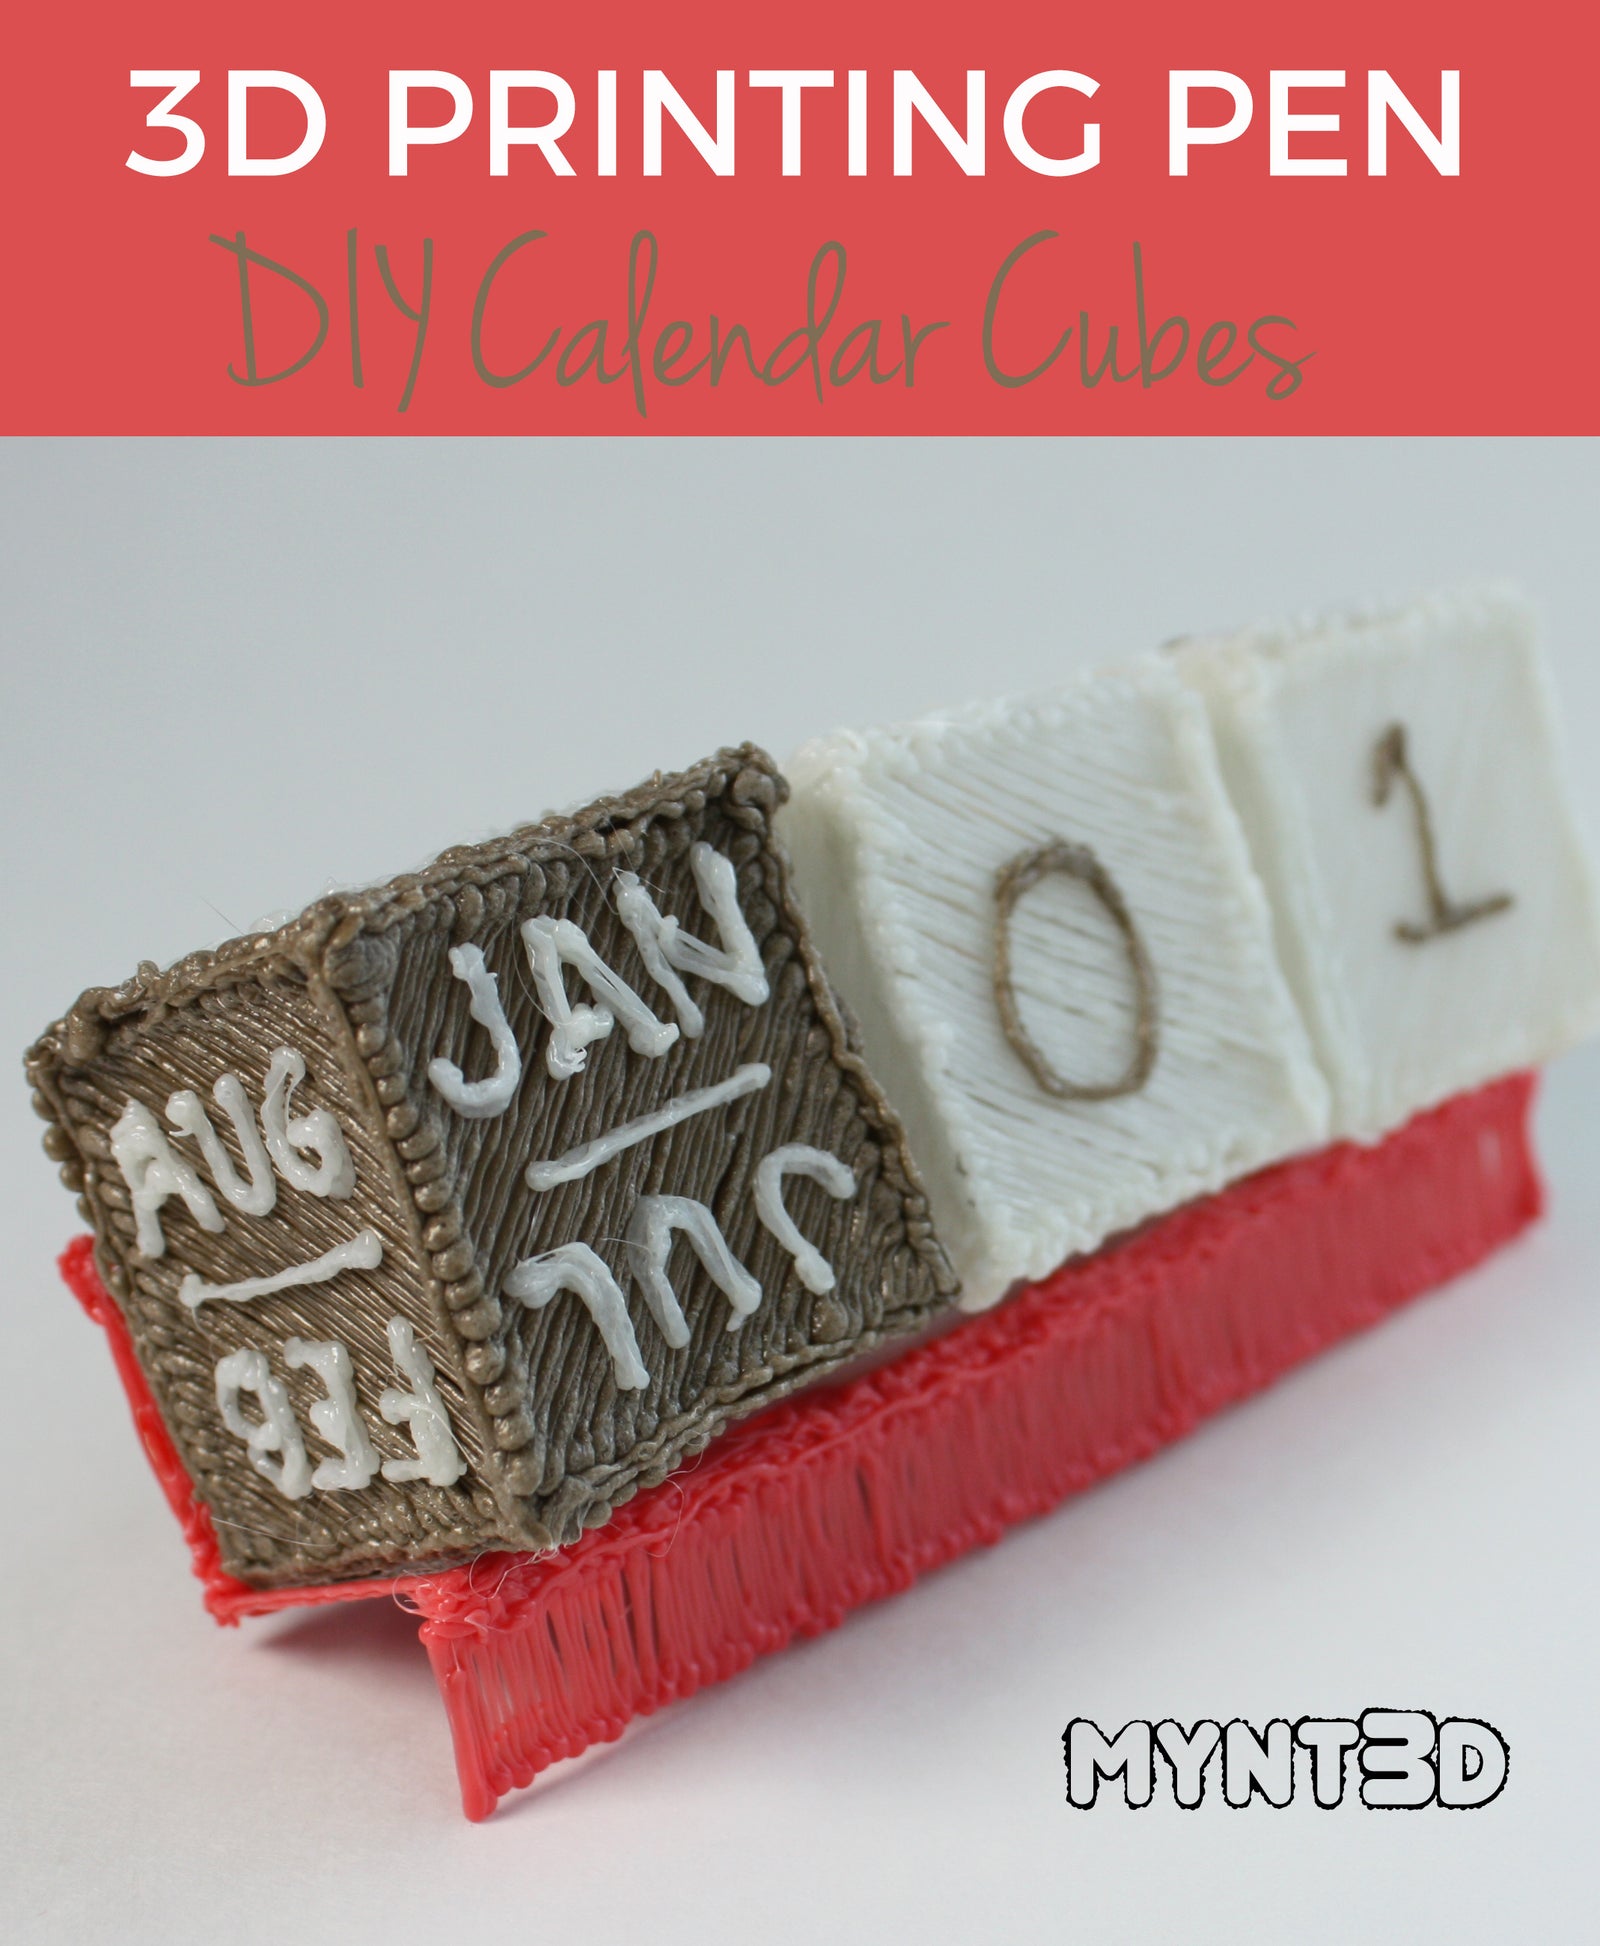

Happy New Year! And what better way to kick off the new year, than with a desk calendar.
The cool thing about this 3D printing project is that it is totally useful and reusable. Yes, this can be reused every year.
It's the project that keeps on giving...and may help you with all your resolutions to get organized. Hey, you never know.

1. Start by downloading the Calendar Cubes Project Template. Use your printer settings to scale template if desired.
2. For the calendar blocks we used the following filament colors: Gold and Natural. The cube rest was made with Peach colored filament. These are all found in the NEW 32 pack of ABS filament from MYNT3D.
3. Start heating your 3D pen. When it reaches the proper temperature, load your filament of choice.
3. Begin tracing the cube sides from the template. You'll need 6 for each cube = 18 total.
4. Attach the cube sides. It helps to use a box corner to form right angles when assembling the blocks.
5. Load a contrasting color filament when drawing on the letters and numbers. TIP: Put your pen at medium speed to make it easier to draw.
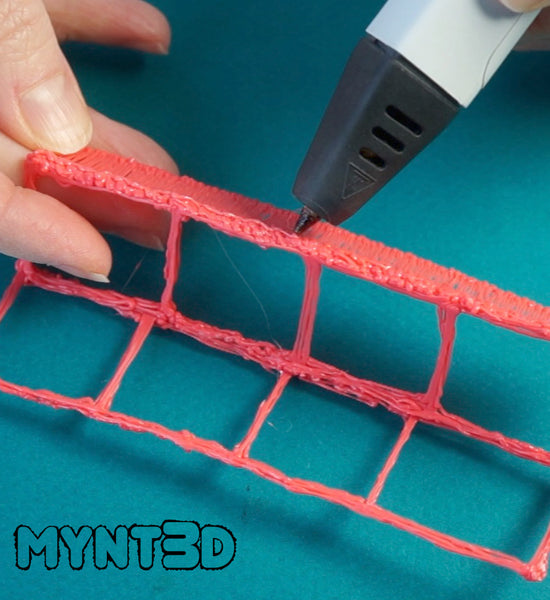
6. To make the stand for the cubes, trace the template. The seat and back part of the stand don't need to be filled in, just trace over the lines a few times.
7. Use the 3D pen to attach the seat pieces together at a right angle. A box corner is helpful in assisting with the angle.
8. The bottom piece of the cube rest is solid for aesthetics. Attach to the seat edge as seen in the work-in-progress photo.
9. Finally arrange your month and date blocks on the rest. Make any touch-ups for symmetry and proper fit.
Comments will be approved before showing up.
