Your Cart is Empty
Free shipping on orders over $50 - continental US

Over 157 million Americans will be celebrating Halloween this year and the numbers are climbing around the globe as well. So why is the scariest holiday attracting so many fans?
Because it brings joy to dress up as your alter ego, decorate your home with creepy crawlies, and turn pumpkins into anything from a jack-o-lantern to a diorama.
If you have not seen our video on Halloween Costume Props made with a 3D pen be sure to click the link!
And with the MYNT3D printing pen you can do all of the above for maximum Halloween fun.
So let's bring on the scare factor this October!

Supplies
MYNT3D professional printing pen
Halloween Festive 1.75mm filament such as orange, black and green
Optional: Rod-shaped items to ripple the template paper
Note: Start all projects by downloading the DIY Halloween Projects Template. Use your printer settings to scale the template if desired.

1. Start heating your 3D pen. When it reaches the proper temperature, load the black filament.
2. Trace over the spider stencil. TIP: We recommend placing a clear surface such as poly carbonate over the stencil.
3. Carefully remove from your surface.
4. Add more filament to legs and bend them into shape while they are soft and flexible.
5. Give height and dimension to the spider body.

1. Start by tracing over the gravestone stencil on the Halloween Projects template.
2. Repeat step 1 so that you have two gravestones.
3. Hold the 2 pieces so they are lined up with about 1/4" space between them.
4. Connect the 2 pieces by drawing back and forth between the edges, creating the sides.
5. Write an epitaph with black filament. Optional: Draw a crack.

1. Trace over the bat stencil. Use a secondary accent color if desired.
2. Carefully remove from your surface.
3. Give height and dimension to the bat body by drawing filament up and letting it harden in an arch over the length of the body. TIP: Hold the bat up and draw underneath the body to let gravity form the arch.

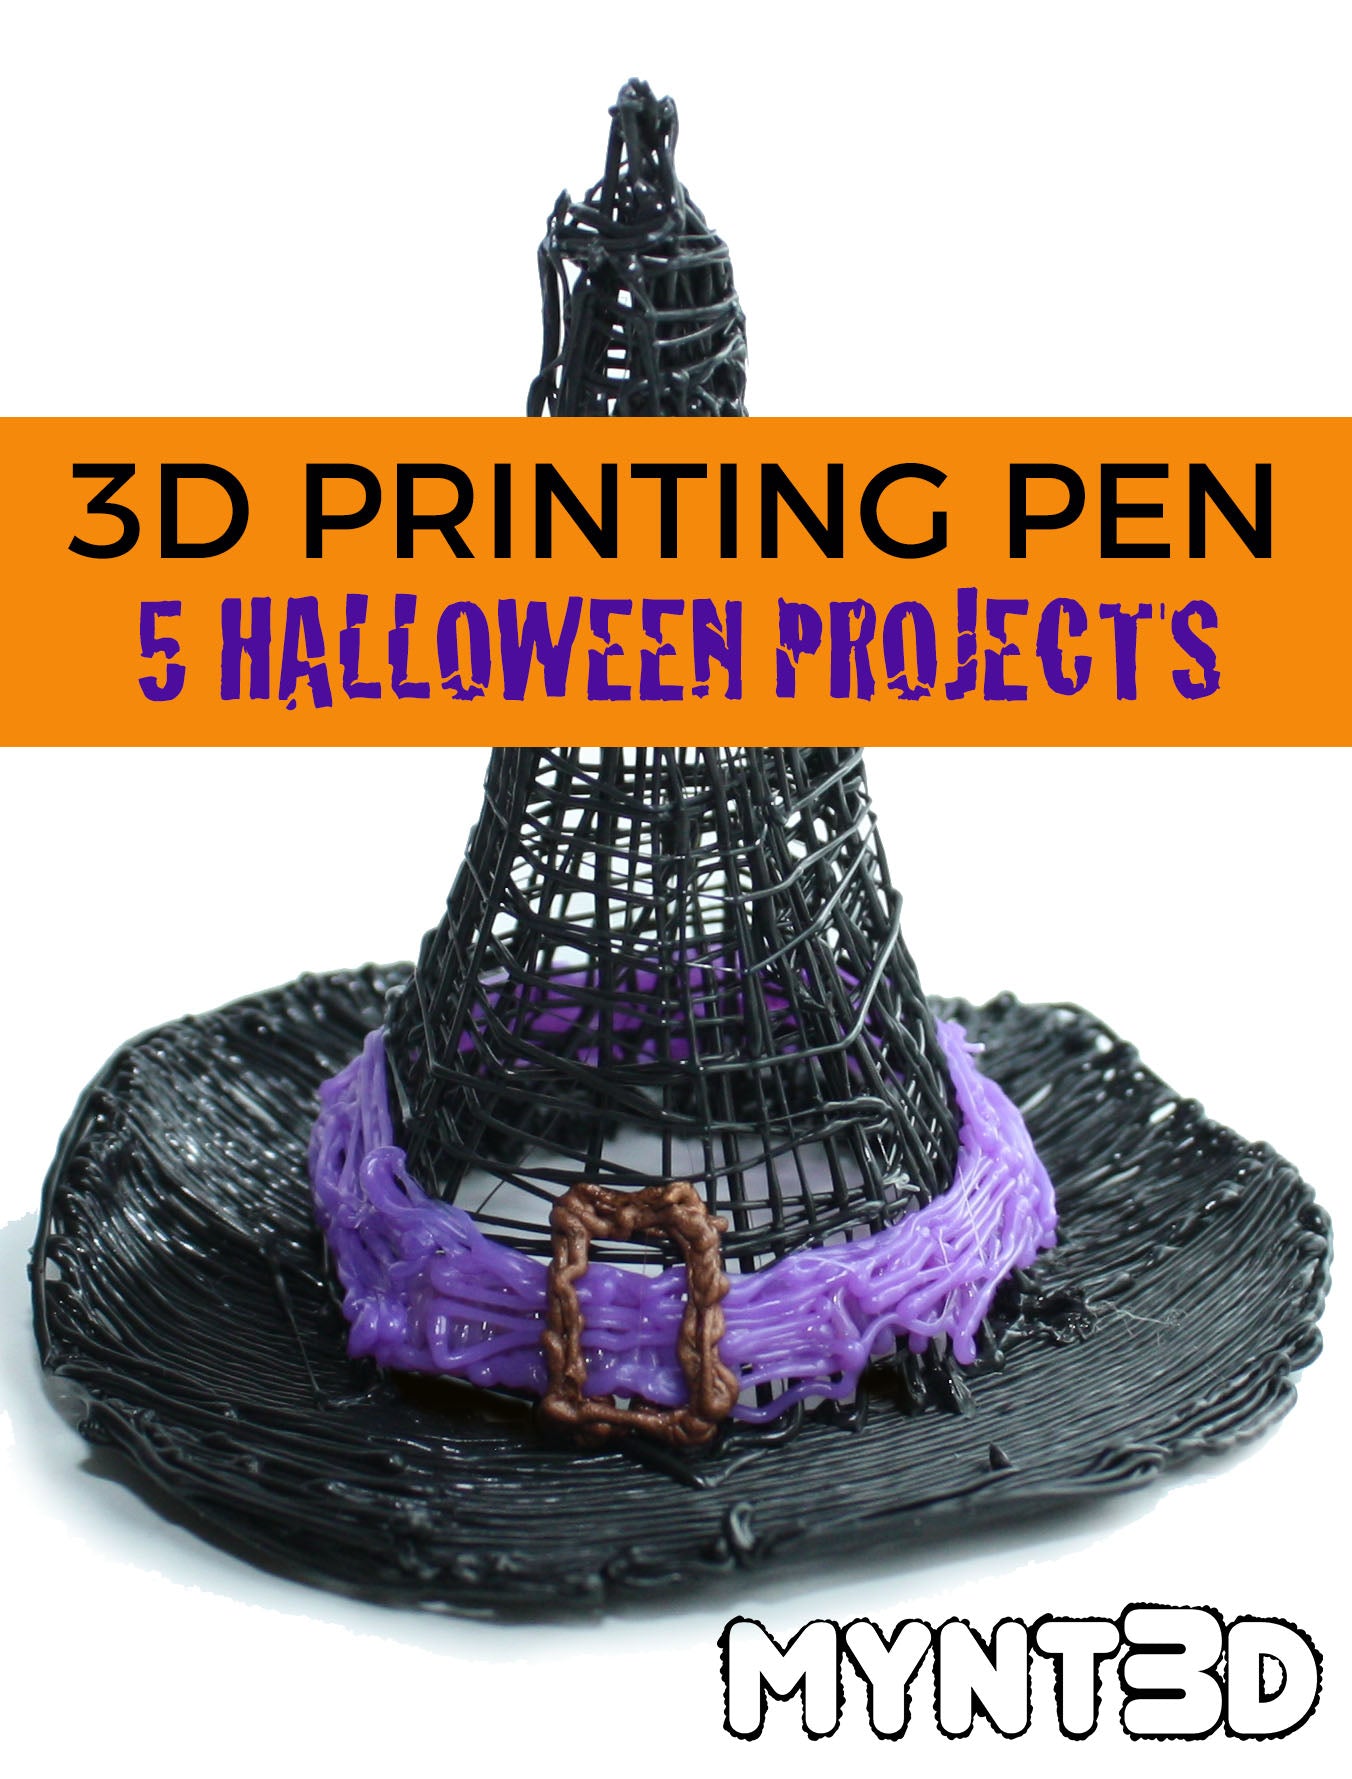
1. Wrinkle the template paper so the brim stencil is wavy.
2. Trace over the witch hat brim stencil.
3. When the filament has fully cooled, remove from the paper template.
4. Draw a freehand strand from one point on the inner brim hole up past where the hat point would be. TIP: use the excess length to hold onto as you draw more strands in the next step.

5. Draw more strands going around the edge of the inner brim and connecting to where you'd like the tip of the hat to be.
6. With scissors, snip any filament strings that have extended past the hat point.
7. Starting at the base, wind the filament around the cone structure, going up to the pointy top.
8. Jazz it up with a band and buckle!

1. Trace over the BOO and spider web stencils separately.
2. Set the two pieces at a 90 degree angle and connect with the black filament.
3. Draw freehand web strokes between the bottom of the letters for extra reinforcement.
Comments will be approved before showing up.
