Your Cart is Empty
Free shipping on orders over $50 - continental US

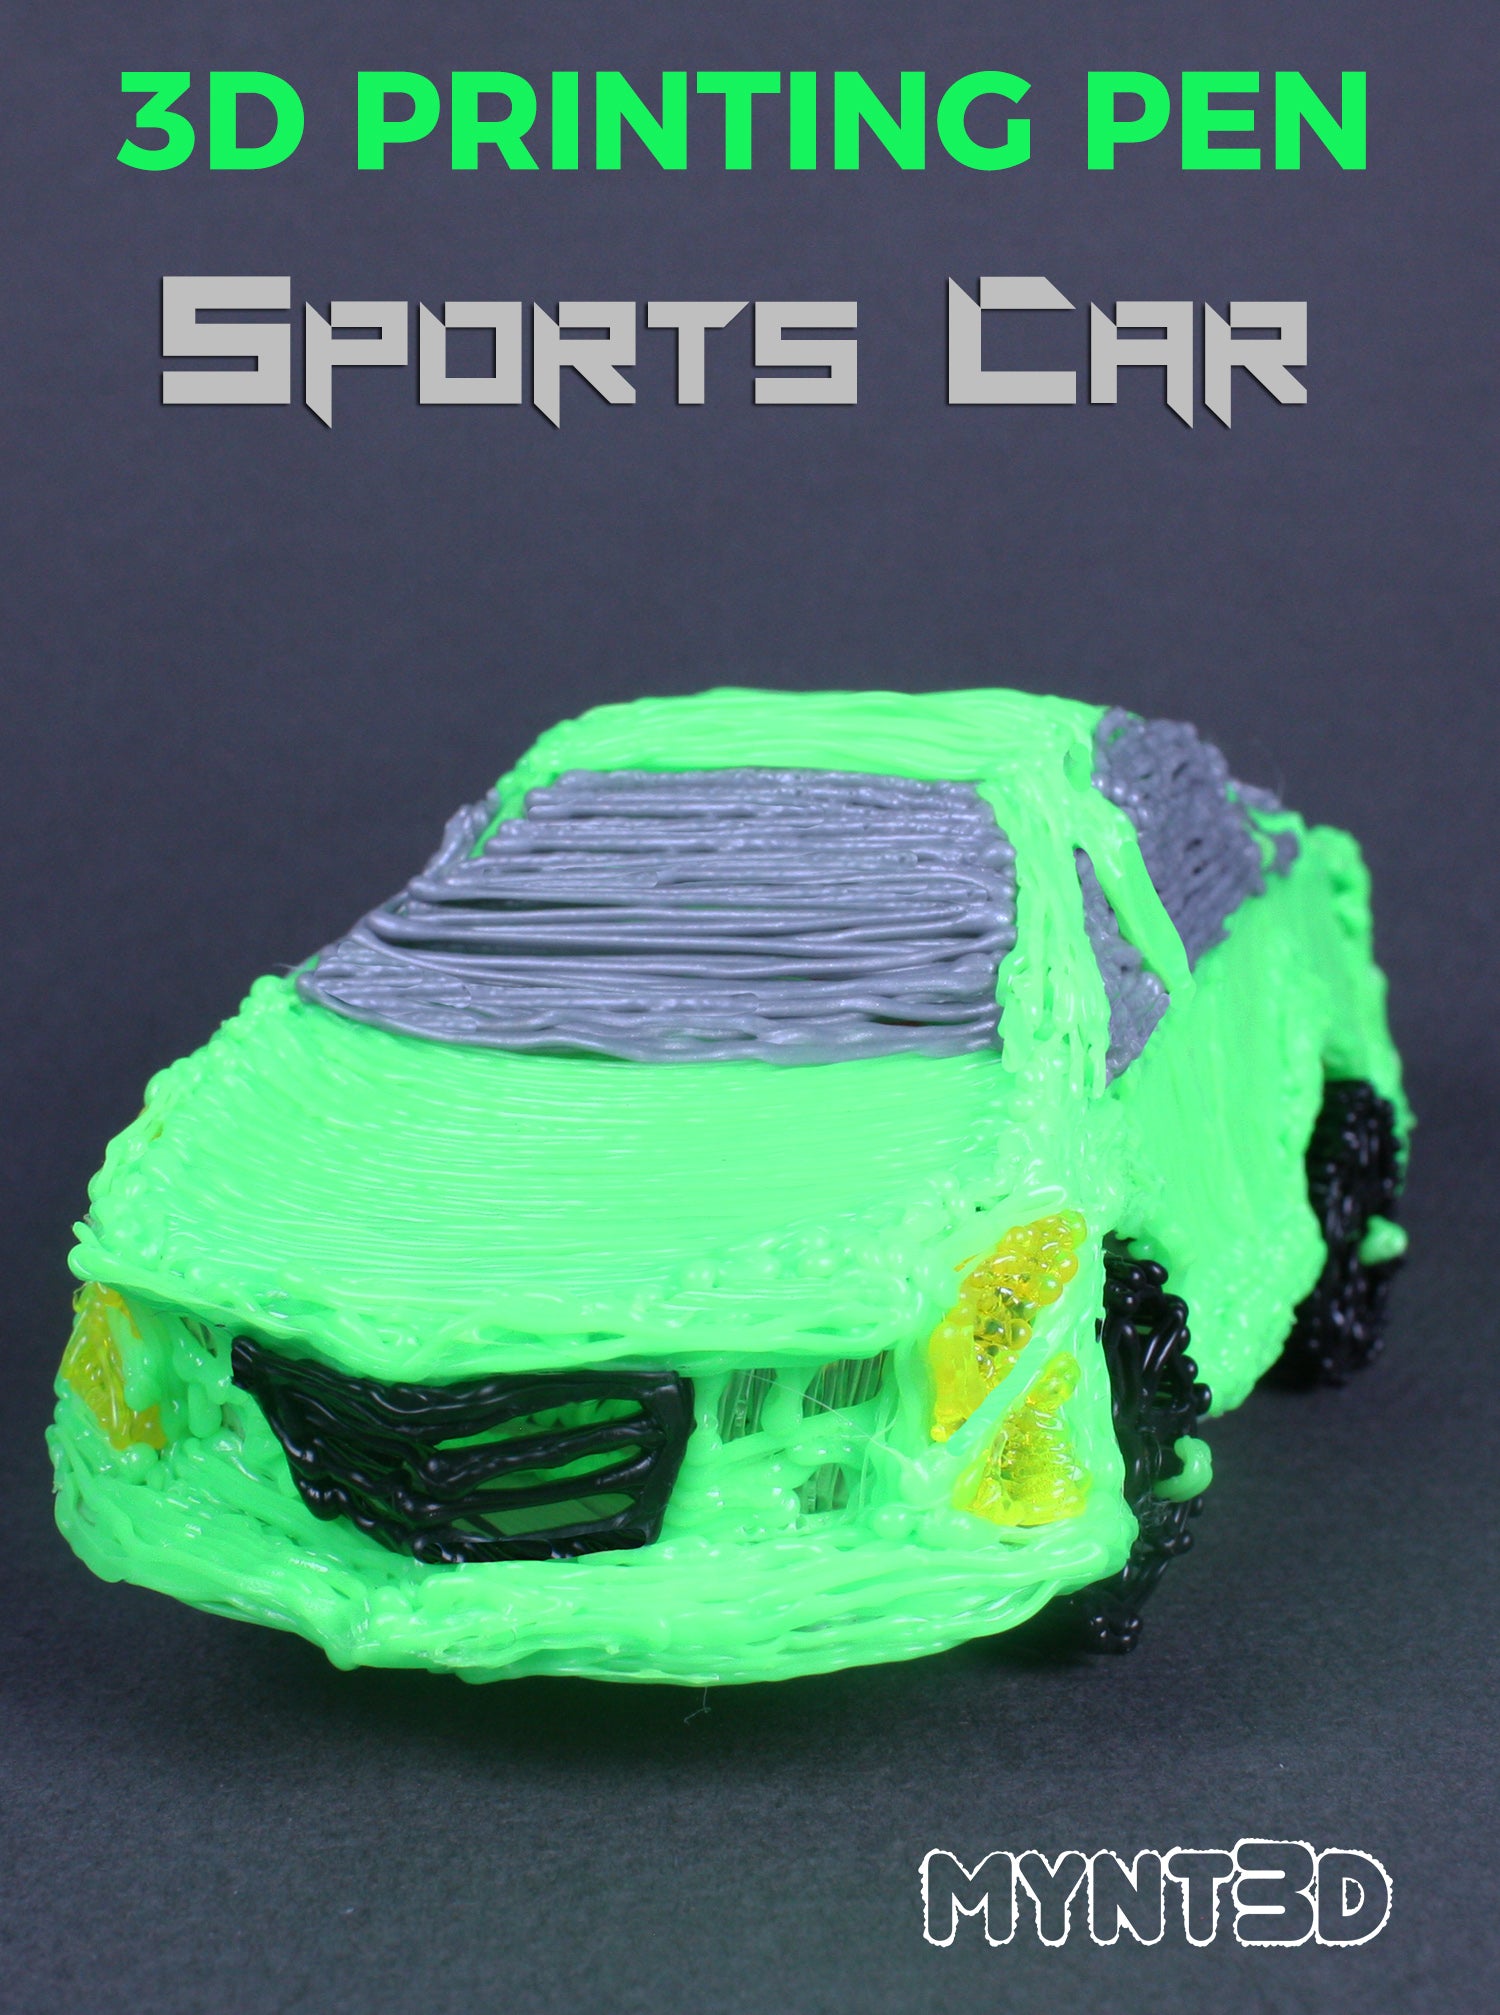
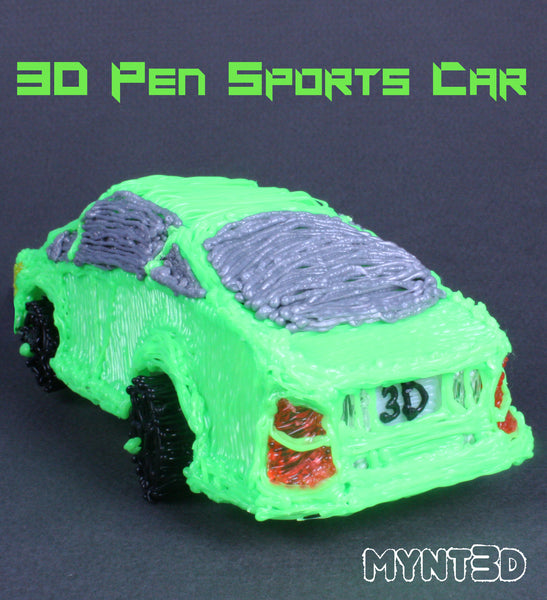
This week we have a cool project challenge - a sports car. When we created the template stencil, we wanted to provide a basic car design that you can make as is, or tweak to your own specifications.
Cars come in all sizes and colors, but the basic structure is pretty standard, which allows for customization.
If you've been inspired to make this project, please share your work on social media using #mynt3D. We love to see your creations!
Supplies:
• Filament colors from the Super 32 pack of ABS: fluorescent green, silver, black
• Filament colors from the transparent PETG pack: red, yellow, clear
• Scissors
• Sticky tack
• Thick paper or card stock
1. Start by heating the MYNT3D pen to 210 degrees C, for ABS filament, or 175 C for PLA.
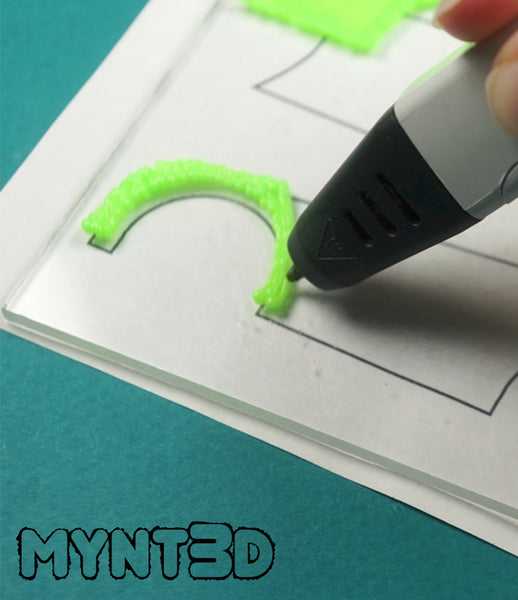
2. Trace the outline and fill in the car bottom stencil on the template.
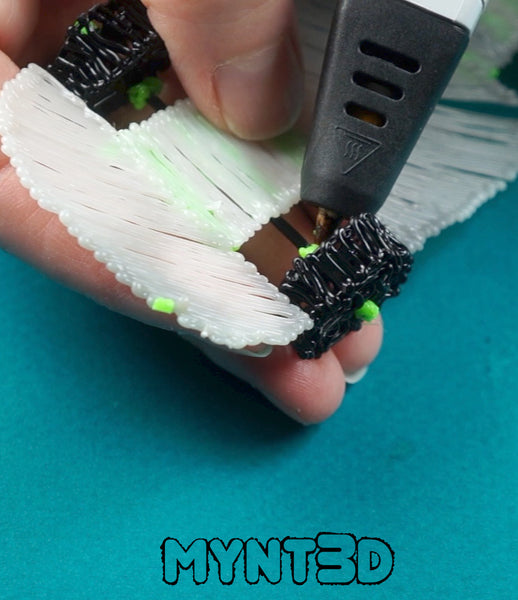
3. Trace all 8 wheels. You'll use 2 wheel pieces per tire.
4. Use sticky tack to hold 2 wheels about 3/8" apart. Be sure they are spaced wide enough to stand upright on their own. Connect to two wheel pieces going back and forth with the 3D pen. Repeat until you have 4 wheels.
5. Cut 2 pieces of raw filament the length of the axles on the template. Test the spin of the tires.
6. Attach the axles to the car bottom, centered in the wheel well area.
7. Slide the wheels onto the axles and add a dab of filament on the end of the axles. Push the wheels against the dabbed end, and add another dab on the other side of the wheel. Be sure the wheel has enough room to spin, but not enough room to wobble.
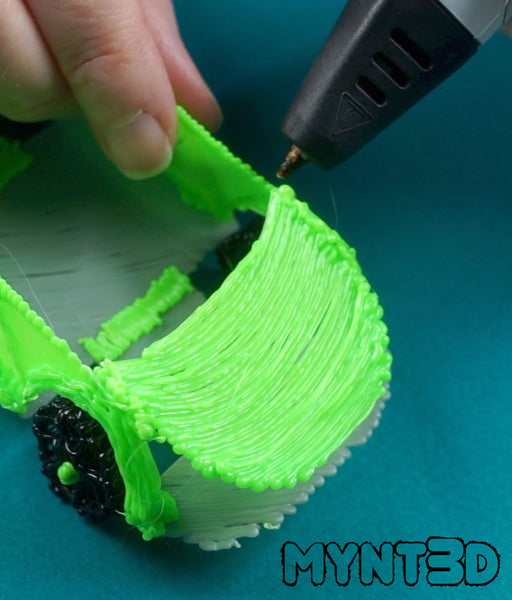
8. Trace the outline and fill in the car sides, hood, trunk, and roof stencils on the template.
NOTE: when making the roof, fold a piece of card stock on top of the template and draw over it.This will give a curve to the car top.
9. Attach the sides of the car using a 3D printing pen. You may want to angle in the car sides for a more sporty design.
10. Hold the hood between the car sides and line it up over the curved end of the car bottom. Attach it with the 3D pen.
11. Hold the trunk between the car's back sides and line it up over the curved end of the car bottom. Attach it with the 3D pen.
12. Hold the roof piece over the car body. The position in which you hold it will affect the style of the car. We held it low for a sporty design. Connect the corners of the roof piece down to the car body at the edges of the hood, doors and trunk. This will form your window areas.
13. Trace the outline of the rear bumper stencil on the template, leaving the lights and license plate area open.
14. Draw the license plate and add any personalized letters or numbers. TIP: Print your personalize plates on the computer and glue on.
15. Flip the bumper to the back side and attach license plate.
16. Load clear filament and fill in the holes for the lights.
17. Attach the bumper to the back of the car, leaving the corners open.
18. Load PETG red filament and draw the rear brake lights on the back corners of the car. Load car color filament to add a dividing line and frame around break lights.

19. Trace the outline of the front grill stencil on the template with the car color filament. Switch to black filament to draw the grill lines at the center. Use transparent filament for the front lights seen on the bumper template.
20. Use sticky tack to prop front bumper pieces in a V formation. Connect with the 3D pen.
21. Insert front bumper between the hood and bottom of the car. Connect it to the car body with your 3D pen. Add filament to contour the bumper and fill in any gaps - except for the front corners between the bumper and car sides.
22. Load PETG yellow filament and fill in the holes for headlights at the front corners.
23. Load car color filament to add a dividing line between the headlights.
24. Finish the car by filling in the window areas. Use transparent filament, or if you want tinted windows, we suggest silver filament.
3D Pen Sports Car Project from MYNT3D on Vimeo.
Comments will be approved before showing up.
